There are instances when we post an Instagram story that looks clear on our phone but appears blurry to others. This leaves you wondering, why are my Instagram stories blurry? In actuality, there are several reasons why this might happen. In this post, we will explore the common reasons why this might happen. As a bonus, we will provide you with potential solutions to achieve a high-quality Instagram story.

Just like any social media platform, Instagram relies on an internet connection to deliver high-quality content. If your WiFi is weak or your cellular data has a poor connection, the IG story might struggle to load properly. This results in blurriness as it is trying to render the content with limited data. Also, this can lead to Instagram videos not playing as intended.
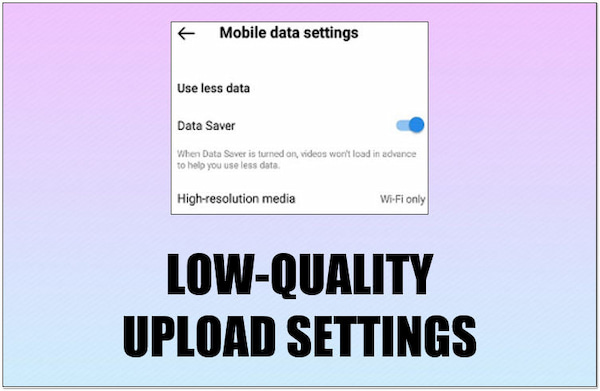
Why do my IG stories look blurry? Instagram lets users choose between uploading at a higher quality or using less mobile data. If you have selected the data-saving option, the story appears blurry. This is particularly noticeable on devices with high-resolution screens. This is because the compressed image or video file contains less detail.

Sometimes, the blurriness might originate from the source itself: your camera. If the camera on the phone capturing the story content isn’t focused properly, the result will be blurry regardless of upload settings. This can happen due to shaky hands, fast movement, or forgetting to tap to focus on the desired subject.

Why do my IG stories come out blurry? Although Instagram stories can handle high-resolution uploads, there are limitations. Uploading media files larger than the recommended size can overwhelm the app’s processing power. As a result, Instagram will compress videos and photos to meet the required size. This will cause a noticeable loss of quality.

A stable network connection is crucial for high-quality story uploads. Before uploading, run a speed test to ensure your internet is functioning well. If you’re using cellular data, consider moving to a location with better reception. This will allow for smoother uploads and prevent pixelation or blurriness caused by data limitations.
If you’re set on using a pre-existing photo that might be a bit low-quality, consider using AnyMP4 Image Upscaler Online. It is a browser-based image resolution enhancer powered by AI. For good measure, it works in any browser on any device. It supports universal image formats like JPG, JPEG, and BMP. This tool lets you improve the quality of your image for free. In addition, it can help you to enlarge your image’s size at 2×, 4×, 6×, or 8×. It uses advanced AI technology to increase the clarity and sharpness of images in 1080p, 1440p, 2K, etc.
Here’s how to increase IG story quality using AnyMP4 Image Upscaler Online:
1. Open a web browser and navigate to AnyMP4 Image Upscaler Online’s official website.
2. Click + Upload Photo to add the Instagram story you want to improve.
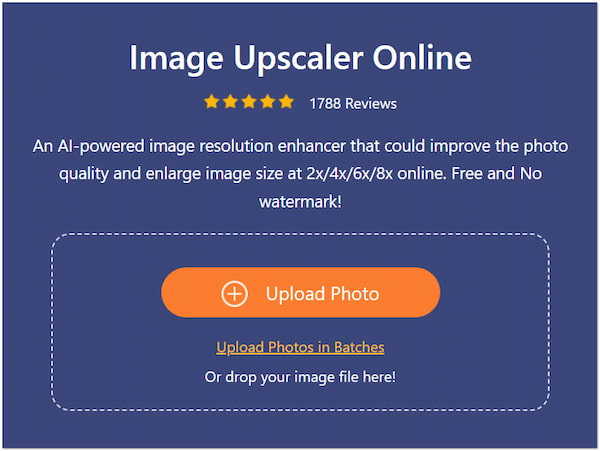
3. Once the Instagram story is loaded, you will be presented with a preview of the result.
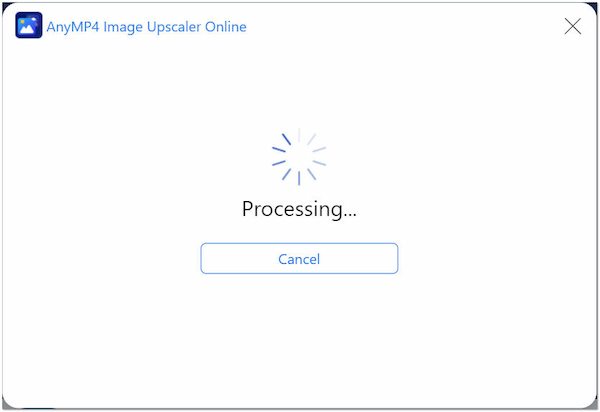
4. In the Magnification option, choose your enlargement size 2×, 4×, 6×, or 8×.
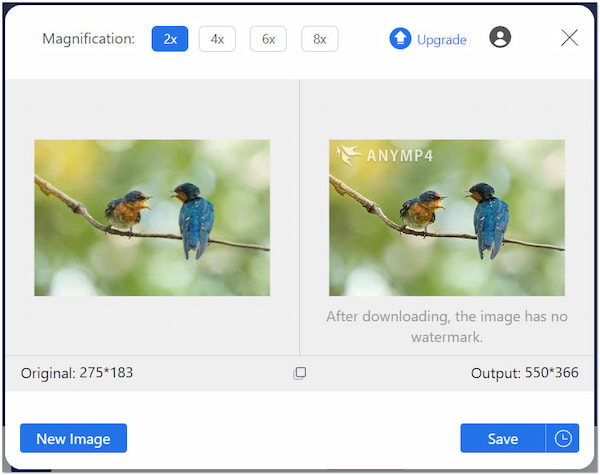
5. If you’re satisfied with the result, click Save to obtain the improved Instagram story.
AnyMP4 Image Upscaler Online allows you to fix blurry pictures, including Instagram stories. This powerful tool reduces the noise and enhances the image’s details effectively. Aside from upscaling the image’s quality, it can also restore old photos through AI.
If you have captured blurry videos, AnyMP4 Video Converter Ultimate can be your lifesaver. Although the name suggests it is a conversion tool, it comes with over 20+ editing tools. One of the notable features it offers is the Video Enhancer tool. It can help you upscale video resolution to improve the clarity of your video. What’s more, it can adjust the brightness and contrast levels of your video to improve its visual quality. It can also eliminate unwanted grain in your video to make it cleaner and smoother. Plus, it can reduce video shakes to stabilize the video.
Here’s how to improve IG story quality using AnyMP4 Image Upscaler Online:
1. Start by getting a free download of AnyMP4 Video Converter Ultimate. Install the media conversion tool and let the installation process finish.
Secure Download
Secure Download
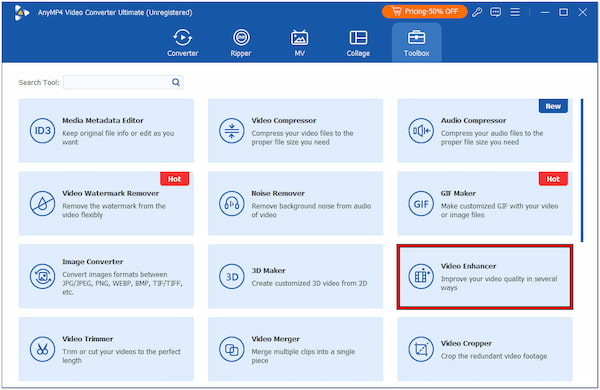
2. After installation, launch the AnyMP4 Video Converter Ultimate on your computer. Navigate to the Toolbox section and look for the Video Enhancer tool.
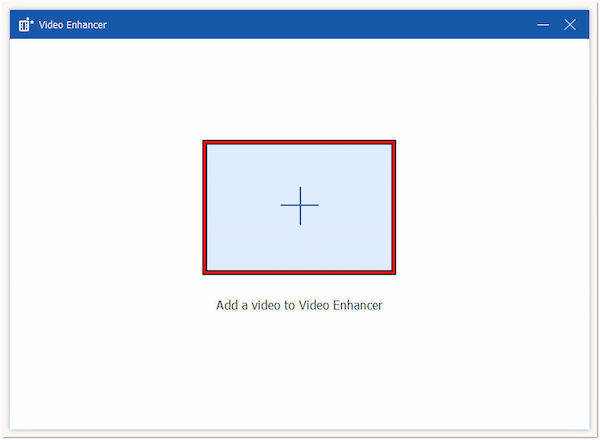
3. In the Video Enhancer window, click + to add the blurry video you want to improve. Optionally, use the Cut tool to clip unnecessary portions of your video.
4. Choose the following video enhancer tool to improve your video. Checkmark each feature, such as Upscale Resolution, Remove Video Noise, Reduce Video Shaking, etc.
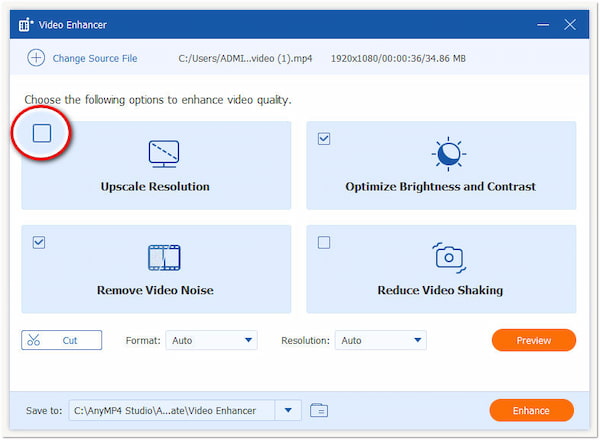
5. Afterward, select a supported format and choose your preferred video resolution. Finally, click Enhance to apply the changes and save the enhanced video.
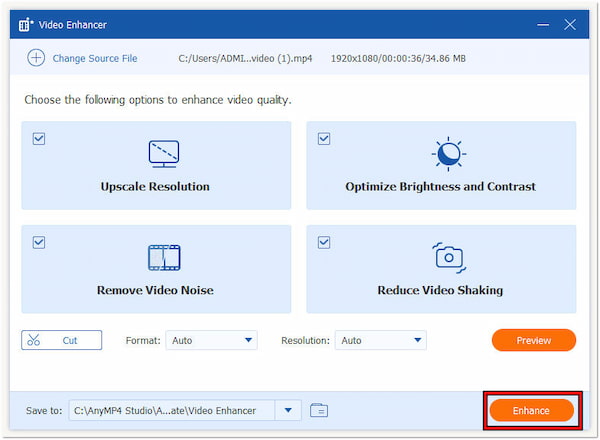
AnyMP4 Video Converter Ultimate is a flexible tool you can use to improve Instagram video quality. Not to mention, the Video Enhancer tool is powered by AI. This means you don’t need to manually configure settings just to improve your blurry videos.
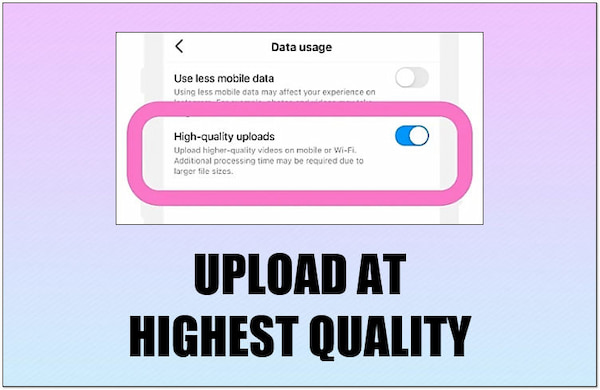
As mentioned, Instagram offers an option to prioritize quality over data usage. Navigate to your Instagram settings, locate the Data Usage section, and ensure Upload at Highest Quality is enabled. This setting instructs Instagram to upload your stories without compromising on quality. However, it might take longer, especially on slower connections.
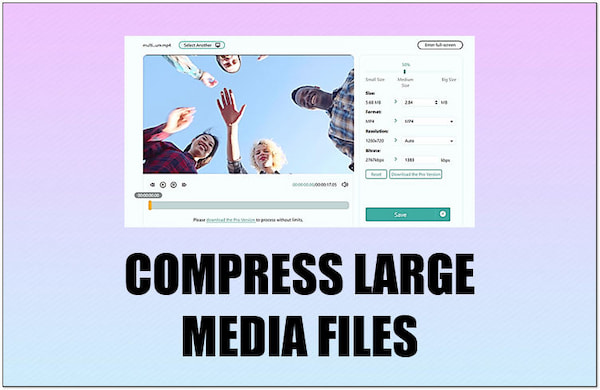
If your concern is exceeding Instagram’s size limit, consider using a video compressor before uploading. Several apps and online services offer video compression without compromising original quality. Look for tools that offer high compression ratios with minimal quality loss. Remember, uploading a smaller file size ensures a smooth upload process.

Using external camera apps can be convenient, but it may compromise the quality of the uploaded photos and videos. Capturing photos and videos directly within Instagram’s story camera ensures compatibility and optimal quality. Many didn’t know that Instagram’s camera is designed to work seamlessly with the platform’s upload process.
Instagram Stories have become a popular way to share fleeting glimpses of your day with followers. Unlike feed posts, stories disappear after 24 hours. This keeps your profile feed focused while offering a space for casual interaction.
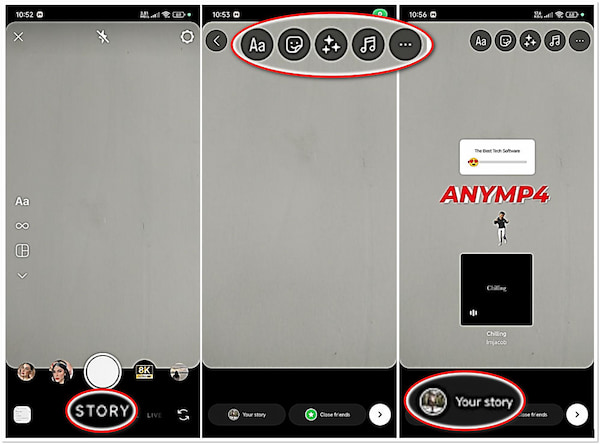
1. In Instagram’s interface, swipe right to access the story camera.
2. Navigate to the STORY option and tap the Circle icon to take a photo.
Tip: Hold down the Capture button to record a video.
3. After capturing your story, personalize it by adding text, stickers, music, etc.
4. Afterward, tap Your Story to share it with your followers.
Instagram Stories allows you to share fleeting moments, updates, and creative content with your followers. Want to save a story for longer than 24 hours? Add it as a Highlight on your profile.
Why is my 4K video blurry on Instagram story?
IG Stories don’t support full 4K resolution uploads. Uploading a 4K video will result in Instagram compressing it to fit their format. This compression can introduce blur, especially in details.
Why on earth are my Instagram stories blurry ONLY when I add filters/GIF/music?
Adding filters, GIFs, or music to your story causes Instagram to compress the video further to accommodate the extra workload. These elements require processing on top of the video itself.
How do I change the upload quality on Instagram?
Changing the upload quality on IG is a straightforward process. Go to your Instagram profile and tap the Menu button. Navigate to Settings and select Account. Under the Cellular Data Use, enable the Upload at Highest Quality option.
Now, you no longer ask yourself why my IG stories are blurry. By understanding the reasons behind blurry stories and implementing the suggested solutions, you can ensure your Instagram stories shine with clear visuals. Remember, if you need to upscale your blurry photos, AnyMP4 Image Upscaler Online is the go-to platform. Meanwhile, AnyMP4 Video Converter Ultimate can be your companion when dealing with blurry videos.