How to Cut a Clip in Final Cut Pro: 3 Ways to Split Videos
Learning how to cut video clips is an essential video editing skill for amateur and professional video editors. By learning how to cut videos into multiple segments, short-form content can be easily created, especially when it is segmented from long-format content such as podcasts or interviews. On top of that, video splitting is also practical and useful for editing purposes. With that in mind, this article will serve as a guide to learning how to cut a clip in Final Cut Pro, the flagship editing software developed by Apple. If you want to learn how to use this tool for cutting video clips, please continue reading this article down below.

Part 1. How to Cut a Clip in Final Cut Pro in the Timeline
We will start this tutorial by providing the most basic option for cutting video clips in Final Cut Pro. With that in mind, the Blade Tool will be the featured option for this guide since it is the most straightforward tool for cutting a video; it can cut clips by clicking a section of it to set it as the portion that is being cut.
To easily understand how to use the Blade Tool for cutting video clips, a step-by-step guide is provided down below:
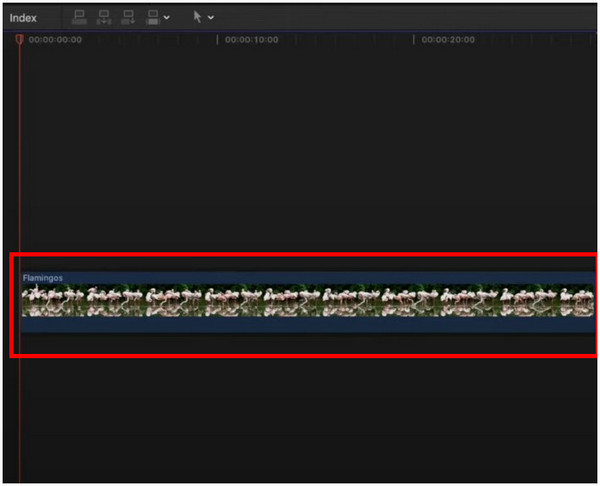
1. First, add the video that you want to cut in the editing timeline.
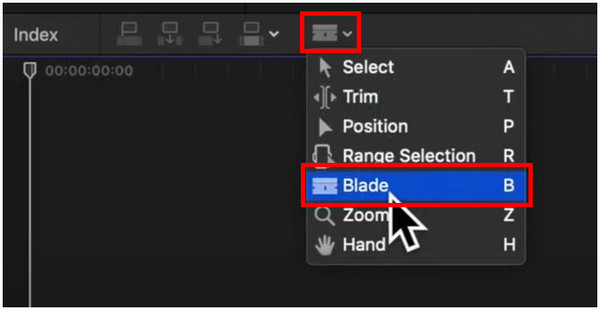
2. Next, activate the Blade Tool. You can do this by pressing B on the keyboard as a shortcut, or you can select the Blade Tool under the Timeline Tools menu.
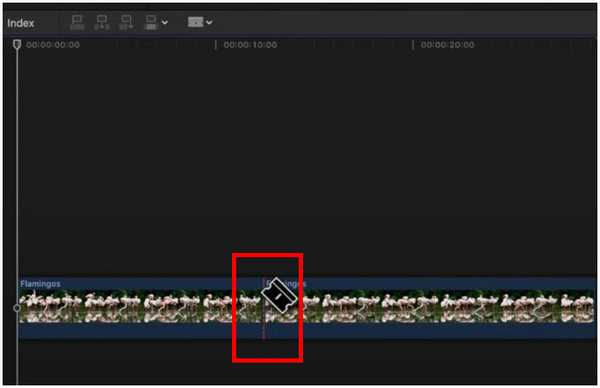
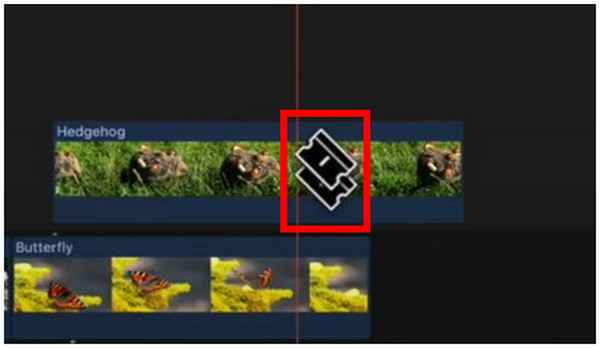
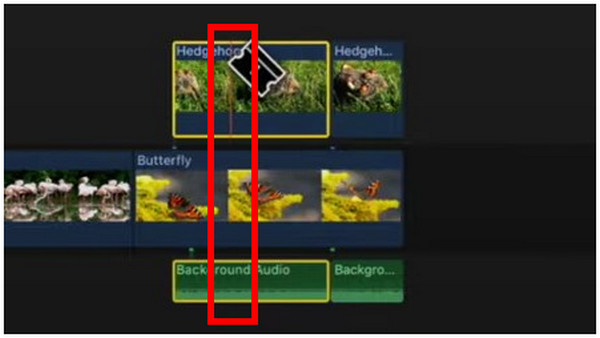
3. As an indicator that the Blade Tool is active, your cursor icon will now look like a blade. To start cutting the video that is being edited, simply hover the blade cursor on the part of the video that you want to cut and click it.
You can use the Blade Tool to cut a video into multiple pieces since a cut portion of the video will now be considered as a single video clip that is being edited. If you want to delete a portion of the clip that has been cut, simply click on it and press Delete.
Part 2. How to Cut All Clips in Final Cut Pro at Once
For more heavy-duty editing, cutting all added video clips in the timeline at once is the most practical option. This is also helpful if you want to make multiple video clips end at the same duration. Fortunately, the Blade Tool is still capable of doing this when used with other keyboard shortcuts. To learn how to do this, please follow our step-by-step guide below:
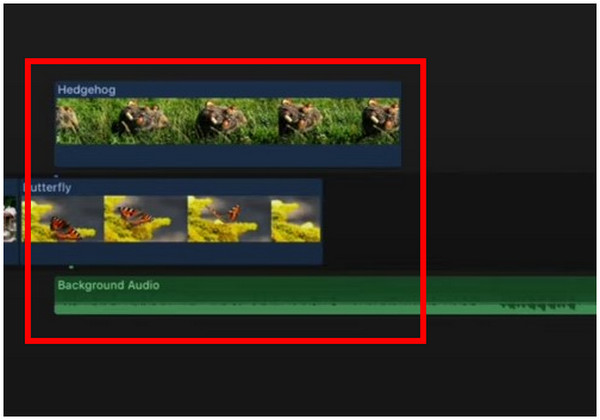
1. Layer the video clips that you want to cut on top of each other.
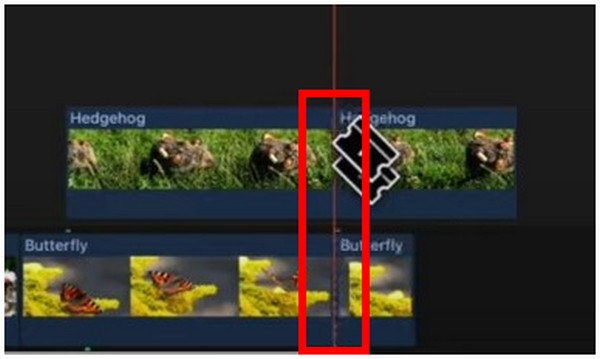
2. With the Blade Tool active, press Shift to make the tool cut multiple videos in a layer. You can confirm that it is activated if your blade tool cursor is now two blades instead of one.
3. While holding the Shift key and the Blade Tool active, click the stacked clips in the timeline to cut all of the videos inside the layers. This option can be used no matter how many videos are added to the timeline.
On top of having the option to cut videos normally, the blade tool can also be used to cut all clips added to the timeline at once. This is a solid option since cutting all videos is very practical.
Although this tool is developed by Apple, it is not available on iOS. If you want to cut a video on iPhone, check this post.
Part 3. How to Cut Multiple Clips in Final Cut Pro
Suppose you want to cut multiple clips in a stack but not all the videos in it. You can also incorporate the blade tool with a keyboard button, just like the previous video-cutting option. To learn how to do this, please read our guide below:
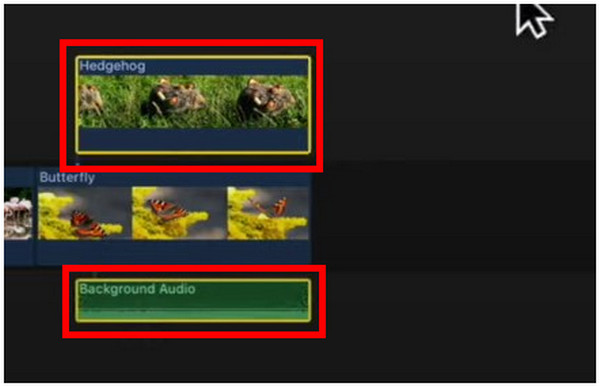
1. Select the clips that you want to edit first. You can do this by holding the Command button on the keyboard and then clicking on the clips that you want to cut.
If you want to cut an audio on this tool, just import your audio file here.
2. Activate the Blade Tool again and position your cursor on top of the selected video clips. Press Command + B on your keyboard before using the blade tool.
3. While holding Command + B and using the blade tool on top of the selected videos, only the selected clips will be cut.
This cutting option may be the most advanced option available in this article but it is simple when you learn how to use it correctly. Always keep in mind the keyboard shortcut Command + B then you are good to go.
Part 4. How to Copy and Paste the Split Clip in the Timeline Separately
Once the clips that you are cutting are now separated into different portions, learning how to copy and paste them is the next practical option to use. Thankfully, this procedure is not complicated.
To learn how to copy and paste split clips in different parts of the timeline, please read the guide below:
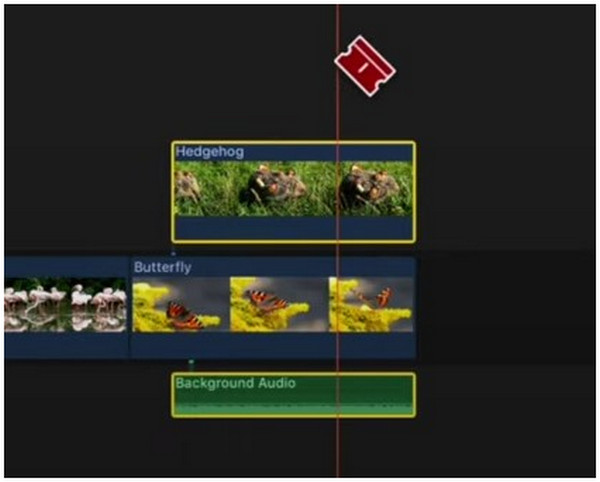
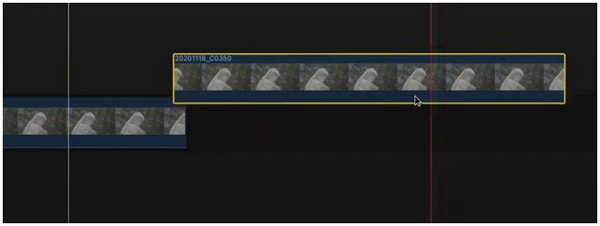
1. Select the clip that you want to copy and press Command + C on the keyboard. The clip is now copied.

2. Next, move your cursor to the timeline that you want to paste the video into. Then, press Command + V to paste the copied clip.
Although Final Cut Pro is a video editing tool, the simple combination of Copy and Paste can still be used on the software’s editing timeline.
Part 5. Final Cut Pro Alternative to Cut a Long Video and Use Them Separately
If you want to cut a long video into separate clips but the Final Cut Pro video editor is too advanced for beginner editing use, the alternative article that we will feature in this section might be the best option for you. This is none other than AnyMP4 Video Converter Ultimate and their practical Video Trimmer option capable of segmenting videos in a few clicks.
The Video Trimmer tool is perfect for users who want to cut video clips precisely up to the milliseconds. This was made possible since an option to set the start and the end of the portion of the video that will be cut can be set. Moreover, a fast split option is also available which can be used to accurately split a video into multiple clips easily.
In addition to this practical Video Trimmer tool, AnyMP4 Video Converter Ultimate is also equipped with these practical features:
- • Video and Audio Format Converter to change the file format of media files processed in it.
- • MV Editor, which can be used for beginner-friendly video editing work.
- • Toolbox of practical features such as Video Enhancer, Video Cropper, Video Merger, and the featured Video Trimmer.
- • Collage Maker is perfect for creating image collages or split-screen videos.
- • DVD Ripper that can be used to rip videos and data saved on DVDs.
To learn how to cut videos using AnyMP4 Video Converter Ultimate, please follow the detailed guide below:
Download the software first to follow each step easily.
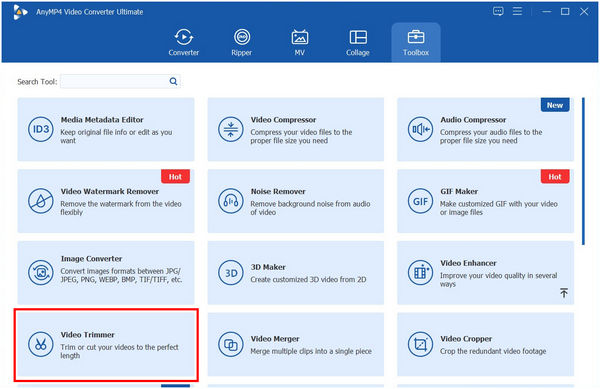
1. Open AnyMP4 and then move to their Toolbox section. Select the Video Trimmer tool.
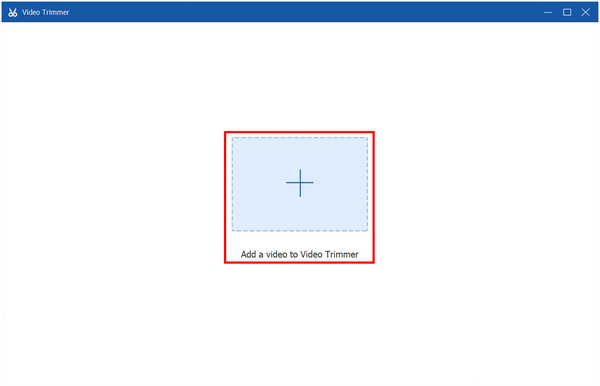
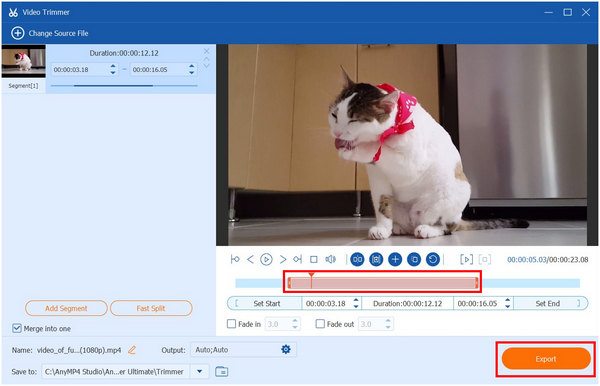
2. Add the video that you want to cut by clicking the Add Icon in the next window that will pop up.
3. With the video now added, the easiest option to cut the video is by adjusting the bar to set the start and end of the video that is being cut. A more precise option is to adjust the timestamp in the Set Start and Set End sections. Once done setting the portion of the clip that will be cut, click on Export to save the newly edited video on your computer.
The practicality of the Video Trimmer tool of AnyMP4 Video Converter Ultimate instantly makes it the best alternative for Final Cut Pro if you want to segment or cut video clips into shorter versions. It also helps that it is also available for Windows computers in contrast to Final Cut’s macOS exclusivity.
Part 6. FAQs About How to Cut a Clip in Final Cut Pro
How do I layer two clips in Final Cut Pro?
Simply move the clips on top of each other. Your videos are now layered and can be edited as such. The editing options applied in a video layer will be applied to every clip inside it.
How do you break apart clip items in Final Cut?
You first need to select the clip items. With it selected, right-click on it and select Break Apart Clip. You can also press Shift + Command + G.
What is the shortcut for split clips in Final Cut Pro?
Press B to activate the Blade Tool. It is the easiest tool to split clips in Final Cut. It can also be modified when incorporated with other keyboard keys.
How does Final Cut Pro crop multiple clips?
Layer the clips that you want to cut. Activate the Blade tool and hold the Shift button. Move your cursor on top of the clip layer and click.
Is it hard to cut video clips?
It depends on the tool that you are going to use. Video editing tools are harder to use. But file editing software such as AnyMP4 Video Converter Ultimate are some of the most beginner-friendly options.
Conclusion
With the help of these tutorials for multiple ways of cutting clips in Final Cut Pro, you can now cut multiple video clips using the different functions of Blade Tools. All you need to do is to learn the right keyboard shortcut to press. Thankfully, an easier tool to use is available in AnyMP4 Video Converter Ultimate.
Please share this article online to help other users looking for ways to cut their clips on Final Cut Pro.