How to Add Transitions in Final Cut Pro Using Menu and Shortcut
Video transitions are vital to keep video segments looking smooth and orderly, especially when the clips are merged. Moreover, the transitions themselves can make videos more appealing to watch, especially when the effect used suits the theme of the video that is being produced. With that in mind, this article will serve as a guide to learning how to add transitions in Final Cut Pro. Apple makes dedicated video editing software for Mac computers. To learn more about how to use Final Cut Pro to add smooth video transitions, please read this full article guide below.

Part 1. What Are the Common Video Transitions in Final Cut Pro
Among the countless transitions available in Final Cut Pro, variations of Fade, Cross Dissolve, and Wipes are some of the most popular and considered some of the best final cut pro transitions. Fade and Cross Dissolve transitions are usually used for filmmaking and cinematography, making their variations famous for professional editors. Meanwhile, Wipes are more common for infographic animations, making them solid for educational or business presentation use. Fortunately, adding transitions in Final Cut Pro is easy to learn making which is a good feature for editors of different skill levels.
To learn how to add transitions between clips in Final Cut Pro, please refer to the next sections in this article. The first transition tutorial will be focused on adding transitions in between clips since this option is the common use of video transitions. Additionally, each guide will involve using the Final Cut Pro Menu along with the keyboard shortcuts.
Part 2. How to Add Transitions Between Clips in Final Cut Pro
Since transitions are best used to merge video clips that look similar or taken from different angles, these effects are often placed in between clips to smoothly change the shot of a video into the other clip. In this part of the article, we will look at the steps to learn how to add transition effects between video clips.
To learn how a quick guide will be provided below:
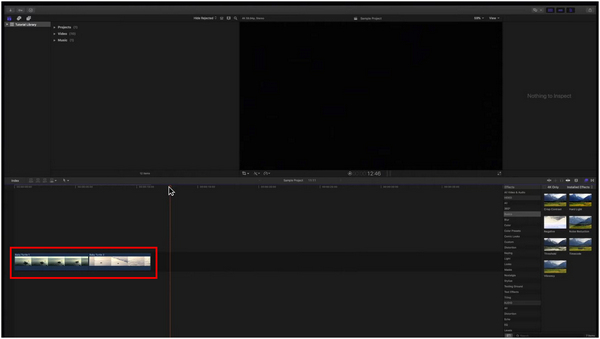
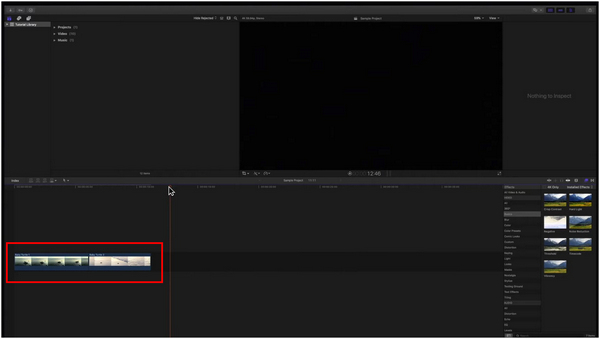
1. Add the two videos that you want to merge in the editing timeline.
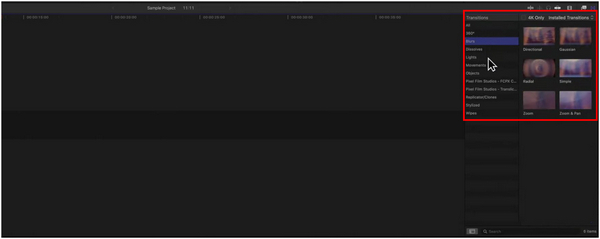
2. To add transitions using the Final Cut Pro menu, click the Transition icon on the right-hand side of the screen. If you want to use the keyboard shortcut, press Control + Command + 5 simultaneously.
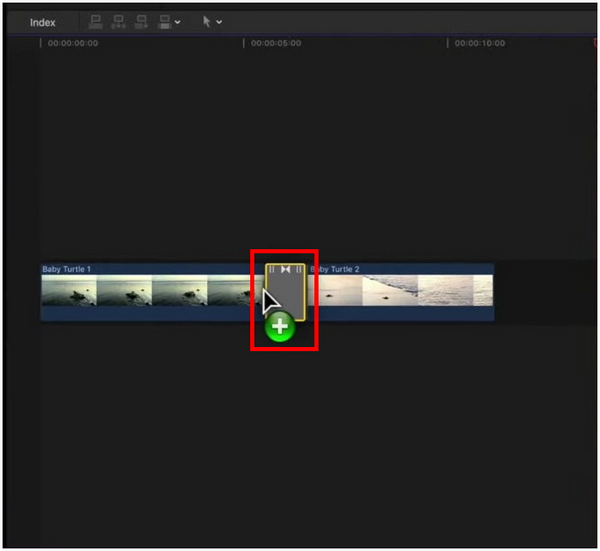
3. Once you have selected the transition effect that you want to use, click and drag the transition selected to the editing timeline. Drop it between the two clips that you have added. Your transition effect is now added between the video clips.
To check if your transition effect has been applied correctly, you can simply preview the video on the editing timeline. You can also change the duration of transition Final Cut Pro in the same editing timeline. If you are merging multiple clips, simply follow these steps to add a smooth transition effect between them.
Part 3. How to Add Fade-In/Out Transitions in Final Cut Pro
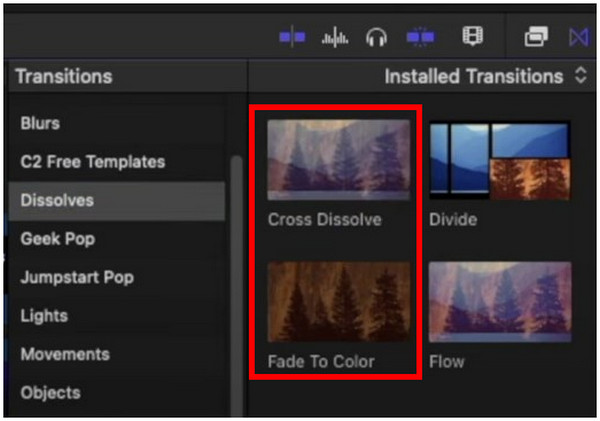
Although a Fade selection is not present in the transition options of Final Cut Pro, the classic Fade-In/Out can be applied using the transition effects found under the Dissolves section of the transition tab. Among the effects found in the Dissolve section, the Cross Dissolve and Fade to Color are best used if you want to apply the Fade-In/Out effect between video clips.
If you want to learn how to add a fading transition between video clips, please use our short guide below:
1. Start by adding the video clips that you want to merge on the timeline.
2. Click the Transitions button or press Control + Command + 5 simultaneously to access the transition effect gallery. Move to the Dissolves section and choose either Cross Dissolve or Fade to Color.
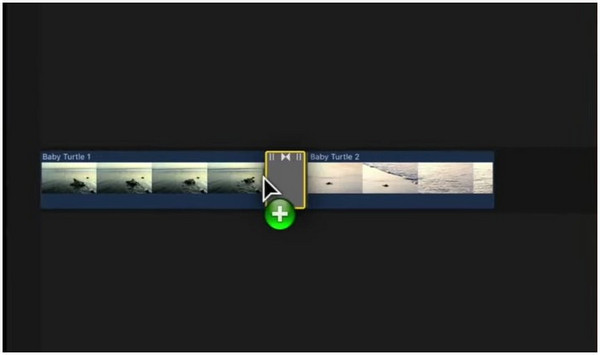
3. Simply drag and drop the transition effect in the middle of the two video clips that you want to merge. You can also add the Fading effect at the beginning or end of the video to start or end with a Fade-In/Out.
Fade-in/Out is one of the classic visual effects used on different movies and TV shows when switching between different scenes. Because of that, it has quickly grown as one of the most famous transition effects used today together with the highly similar cross dissolve and the more traditional wipe transition.
Final Cut Pro also supports editing 3D videos. Check this post to get the full information when you want to add transition effects in 3D videos.
Part 4. How to Copy Transitions to Other Edit Points in Final Cut Pro
Although transition effects are easy to add, repeatedly inserting them between multiple video clips might feel repetitive and annoying. Because of that, a more convenient option to add transition effects easily is by copying the added effect and then pasting them in the middle of video clips. To learn how to do this, a quick guide is provided below.
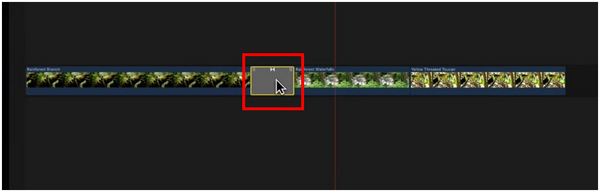
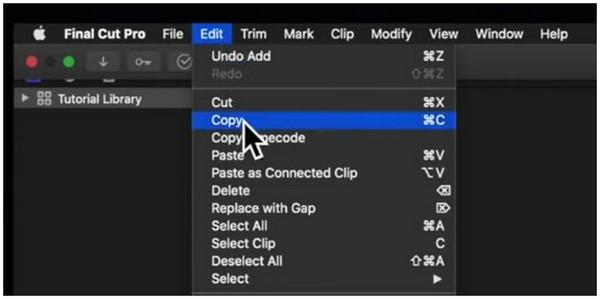
1. In the main editing timeline, click on the transition that has already been added.
2. With the inserted transition selected, click the Edit tab and select Copy. You can also use the keyboard shortcut Command + C to copy the transition.
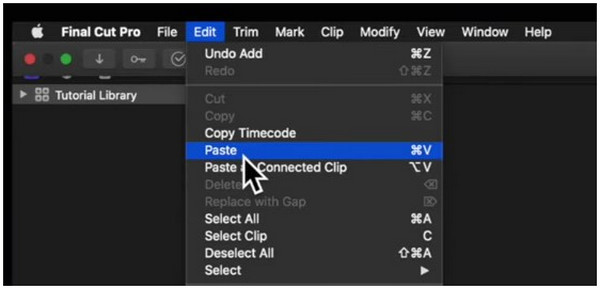
3. To paste the transition to your desired spot, click on the in-between sections of each clip on the editing timeline. Next, click the Edit tab and select Paste. If you want to use a keyboard shortcut, press Command + V.
By following these steps, adding transition effects repeatedly will now become much easier since the customizations added in an edited transition can now be copy-pasted to a new spot on the editing timeline.
Part 5. How to Install FCP Transitions Plug-ins to Find More Transitions
If the transition offerings available in Final Cut Pro do not suit your needs, you can also download Final Cut Pro transitions free online. However, it would help if you learned how to install these additional plug-ins in order to access them inside the Final Cut Pro video editor. Fortunately, this section of the article will be your guide to learning how to install transition plug-ins for Final Cut Pro.
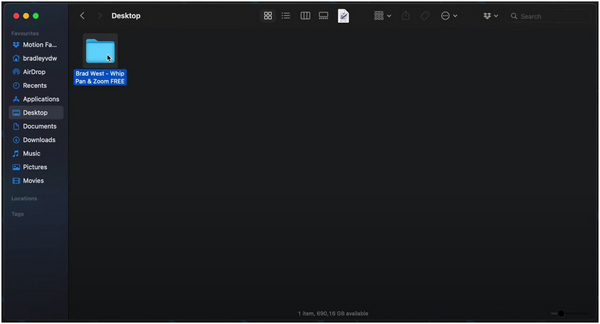
1. Locate the downloaded transition folder. Copy the folder by clicking on it and then pressing Command + C.
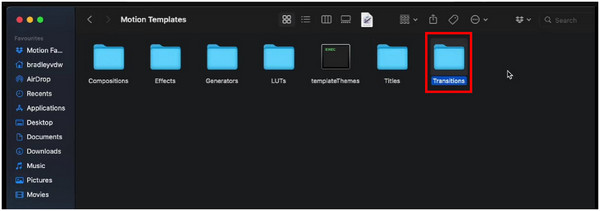
2. Next, move to the Movies folder and open Motion Templates.
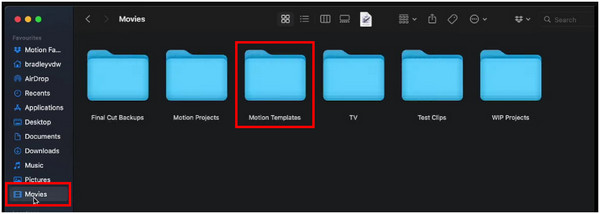
3. Then open the Transitions folder.
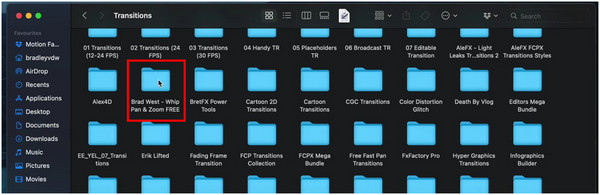
4. Inside the Transitions folder, paste the downloaded Transition plug-in.
After pasting the transition plug-in in its designated folder, close the Final Cut Pro software first to refresh the program. With the program refreshed, turn it back on again and check the transition section to ensure that your new plug-in has been installed correctly.
Part 6. Best Final Cut Pro Alternative on Windows to Add Transitions
Since Final Cut Pro has an innate limitation of being available only for Mac computers, Windows users looking for an easy to use video editor should consider other editing software such as AnyMP4 Video Editor. This tool is designed especially to be beginner-friendly making it a solid option for users of Final Cut Pro looking for alternatives. It also helps that its transition offerings are among the most practical to use such as Fades and Wipes.
In addition to the practical transition animations available in AnyMP4 Video Editor, more practical editing elements are also available in it, such as:
- • Text Editor
- • Video Filter Overlays
- • Sticker Elements
- • Video Title Animation Templates
- • Video Themes
To learn how to use AnyMP4 Video Editor to add transitions to your videos, a quick tutorial is provided below:
Download the software first to follow each step easily.
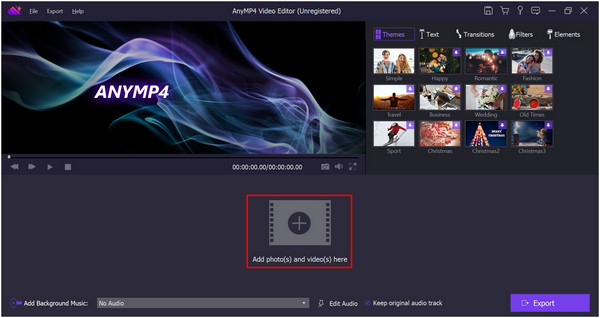
1. Click the Add icon to import two videos that you want to merge with transitions.
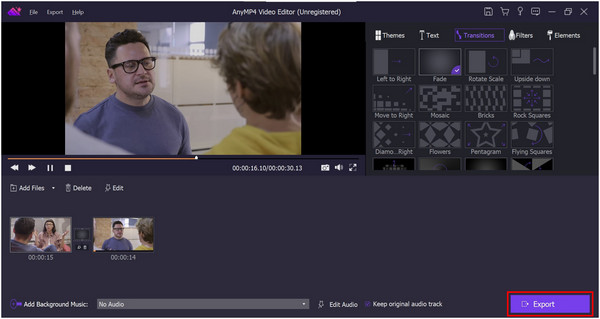
2. With the videos now added, click on the Transitions option menu. Choose the applicable animation according to the video that you are producing and click the plus icon while hovering over it.

3. Your transition animation will now be applied in between the videos on the editing timeline. With the transition now applied, you can continue editing your video. Otherwise, click on Export to save the video that is being edited.
By following these simple steps, adding transitions to your videos is now made easier. It also helps that AnyMP4 Video Editor is much simpler to use than Final Cut Pro. Besides that, more practical editing elements such as overlays and sticker elements are also available in this alternative.
Part 7. FAQs About How to Add Transitions in Final Cut Pro
How to do swipe transition on Final Cut Pro?
It is easy to apply. All you need to do is to look for the wipe section in the transitions option. You can also download new transitions online.
What is the shortcut for transitions in FCP?
The keyboard buttons to add transitions in Final Cut Pro are Control + Command + 5. You need to press these buttons simultaneously. Instead of adding transitions manually, the button shortcut is faster.
What is the shortcut for crossfade in FCP?
Command+T is the shortcut for crossfade. This will instantly add this transition effect to your video. However, you can manually add this by accessing the transitions menu.
How to change the duration of the transition to Final Cut Pro?
You need to press and drag the transition effect in the editing timeline. You can use this if you want to shorten or increase the transition animation.
Where is the fade to black transition Final Cut Pro?
The fade-to-black transition is available in the dissolves transition. This can be applied using two effects. Whether by using cross dissolve or the fade to color option.
Conclusion
Now that you have finished reading our full guide to add transitions using Final Cut Pro. Adding smooth transitions to your produced videos will now become much better. If Final Cut Pro is more complicated for your skills, AnyMP4 Video Editor is a better alternative.
To help other aspiring video editors using Final Cut Pro, please share this article online with your favorite social media sites.