How to Use HandBrake Subtitle
HandBrake is a highly popular video transcoding software. Beyond the software’s main functionality, it includes an added feature where users can manage subtitles. It allows users to add foreign language subtitles, create hard-coded subtitles, and even add open/closed captions. In today’s post, we will guide you on how to use the HandBreak Subtitle tool. We will demonstrate several methods to manage the subtitles on your videos. This includes adding, removing, and ripping subtitles from a video. So, what are you waiting for? Let’s get started!

Part 1. What are Soft, Hard Subtitles or Captions
Soft subtitles, hard subtitles, and captions are types of video captions that provide text overlays on video content. Soft subtitles are separate tracks and not permanently part of the video. This type of video caption can be turned off or on depending on the viewer’s preferences. In contrast, hard subtitles are permanently burned into the video. In other words, it is an integral part of a video and cannot be removed by the viewer. These subtitles are commonly used when subtitles must be shown, like foreign films without a dubbed version. Lastly, captions are closely similar to soft subtitles as they can also be turned on or off. However, captions include non-speech elements like speaker identification for the deaf audience and sound effects.
Make Things Clear: Captions provide a complete transcription of the audio content. On the other hand, subtitles focus on translating spoken dialogue.
Part 2. How to Add Soft, Hard Subtitles or Captions with HandBrake
For good measure, HandBrake supports adding soft and hard-coded subtitles and open/closed captions. As mentioned, soft subtitles are selectable, while hard subtitles are permanently burned into the video. Besides that, you can also add captions, which are like hard-coded subs.
Here’s how to add subtitles with HandBrake:
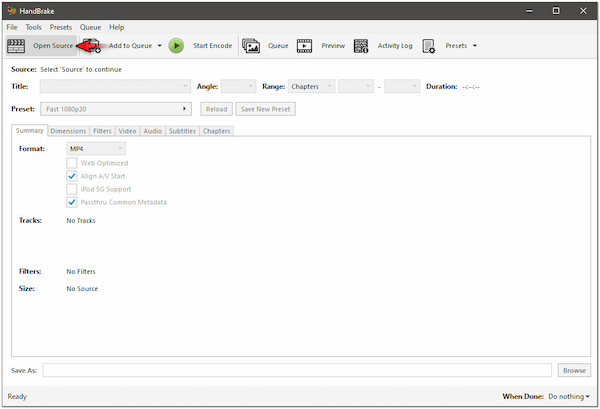
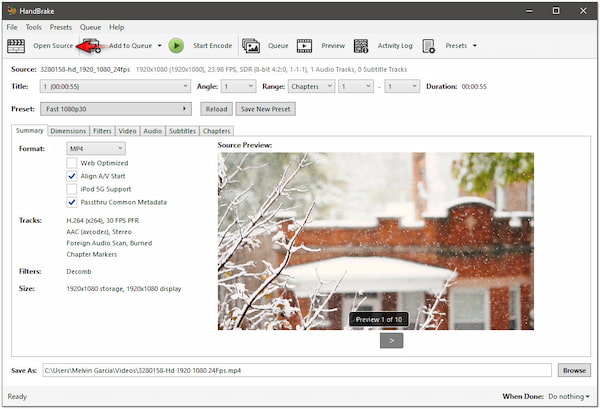
1. In the upper right navigation pane, click Open Source to add the video. Upon loading, HandBrake will scan the video content right away.
2. Following this step, select your preferred output preset for your video. Simply click Preset and select one from the available options. By default, it is set to Fast 1080p 30.

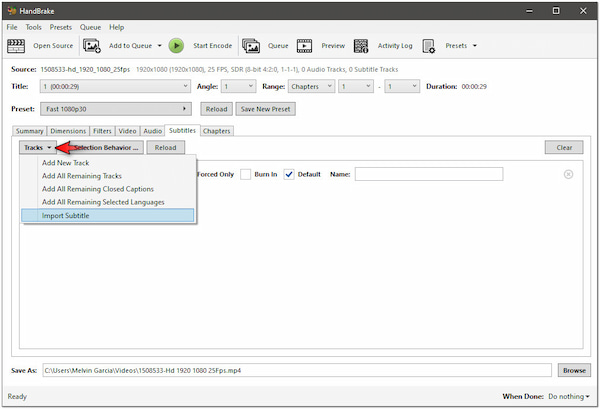
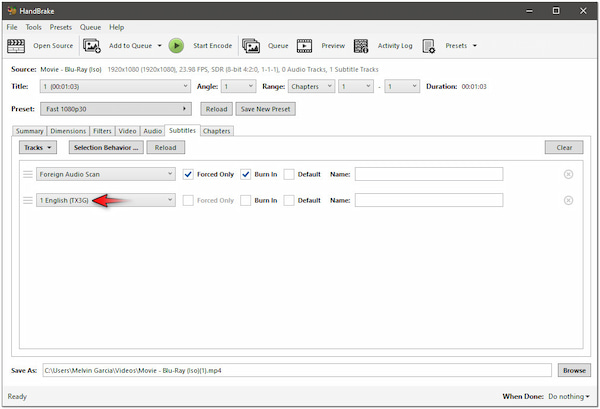
3. At this stage, switch to the Subtitles tab to select a track from the existing subtitles. If there’s no available, click Tracks and select the Import Subtitle option.
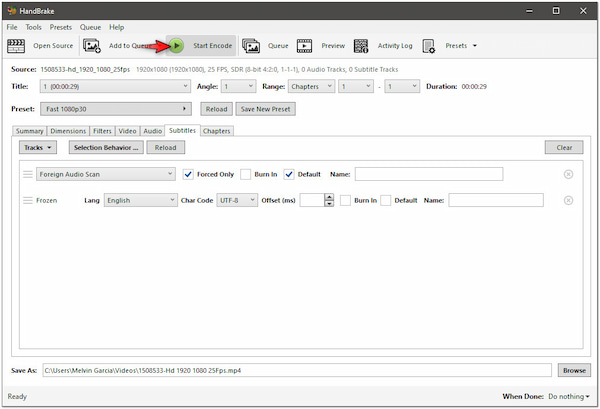
Forced Only: This option only displays the subtitles for foreign languages or on-screen text.
Burn In: This option will hard-code the subtitles into the video and cannot be turned off.
Default: This option will include all available subtitles when the sourced video starts playing.
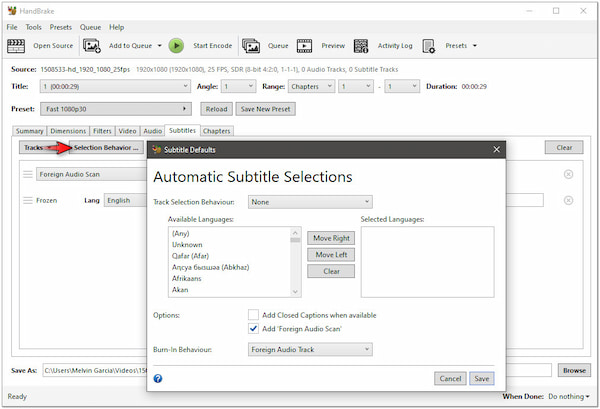
4. If needed, click Selection Behavior to customize how subtitles are handled. In the Subtitle Defaults window, configure the necessary settings to match the video language.
5. After completing the previous step, proceed to the Save As field. Click Browse to specify the destination path. Then, click Start Encode to process the video.
Note: Currently, soft subtitles are not supported in the WebM container. In addition, HandBrake cannot handle copy-protected DVDs and Blu-rays alone. In other words, you need to use an alternative Blu-ray DVD player or install libdvdcss.
Part 3. How to Remove Soft Subtitles in HandBrake
There are instances when you may want to remove soft subtitles entirely from the video. Fortunately, HandBrake enables you to turn it off or remove it during the re-encoding process. Remember, you won’t be able to remove them without re-encoding the entire video.
Here’s how to remove soft subtitles in HandBrake:
1. Import the source video from which you want to remove subtitles.
Tip: If you’re working with Blu-ray or DVDs, select the Title and Chapters you want to keep.
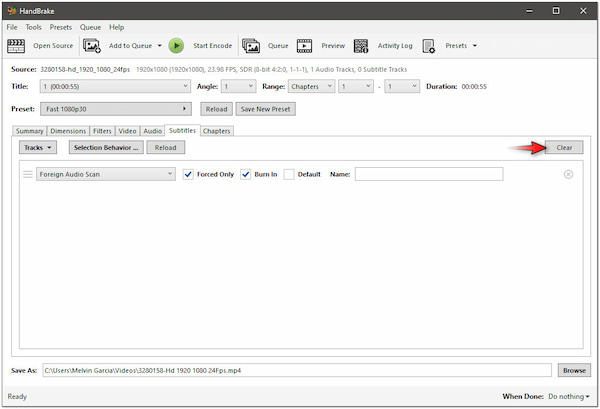
2. Switch to the Subtitles tab and click Clear to remove all soft subtitle tracks.
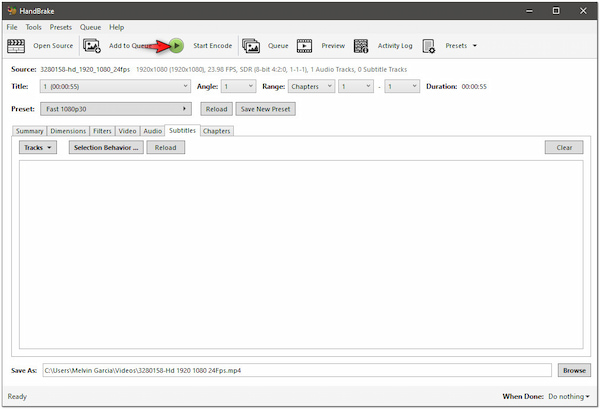
3. Select a destination path and click Start Encode to initiate the soft subtitle removal.
Note: HandBrake can only output video in MP4 and MKV file format after removing the subtitle.
Part 4. How to Extract/Rip Subtitles from a Video in HandBrake
Beyond adding and removing subtitles, HandBrake can also be used to extract subtitles from a video. But this works only if the subtitles are stored as separate tracks within the video. You can select a subtitle track and encode the video with a separate track or burn it directly.
Here’s how HandBrake burns in subtitles in the video:
1. Load the source video or physical media you want to extract subtitles from.
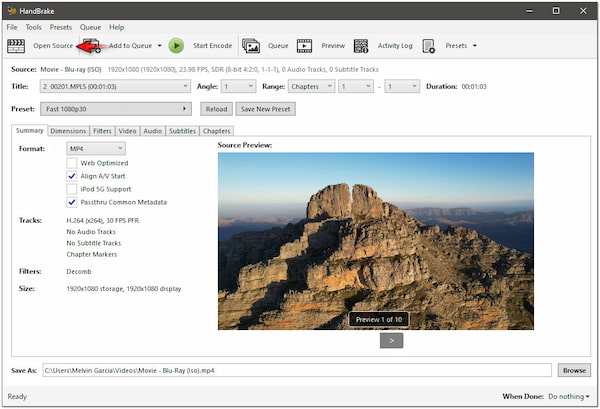
Tip: If you’re working with Blu-ray or DVDs, click Title to extract subtitles from the entire video.
2. Proceed to the Subtitles tab to check the subtitle tracks detected in the source video.
3. Check the Burn In to permanently burn the subtitles into the video (hard-coded).
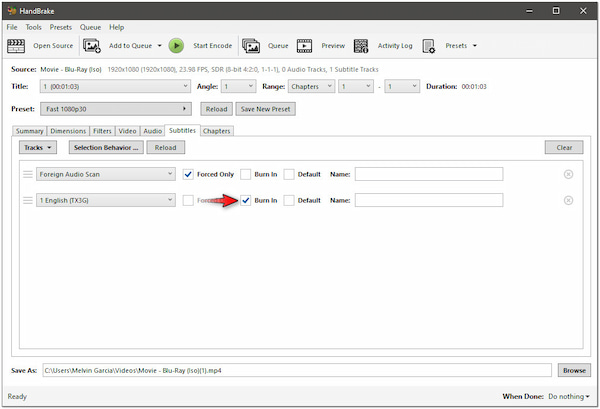
4. If needed, configure the subtitle options and output settings. Then, click Start Encode.

Note: HandBrake does not have a direct feature to extract subtitles as separate files. When using HandBrake to encode a video, you can choose to burn the subtitles into the video or embed them as a separate track.
Part 5. HandBrake Alternative to Add/Change/Remove Subtitles from a Video
Although you can add, remove, and burn subtitles in HandBrake, AnyMP4 Video Converter Ultimate offers a more convenient approach for managing subtitles. It may sound limited, but it goes beyond multimedia conversion. It enables you to manage various subtitle files, such as SRT, SSA, ASS, and more. Best of all, you can edit the subtitles’ appearance according to your preferred visual style. It lets you choose a font style, change the font color, add a font outline, adjust the font’s visibility, and replace its display position.
Here’s how to add subtitles in HandBrake alternative:
1. Beforehand, get a free download of AnyMP4 Video Converter Ultimate. Install the multimedia software and wait for the installation process to finish.
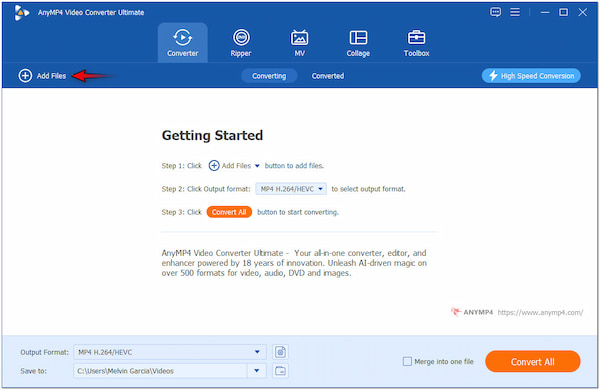
2. After completing the installation, launch AnyMP4 Video Converter Ultimate on your computer. In the Converter tab, click + Add Files to upload the sourced video.
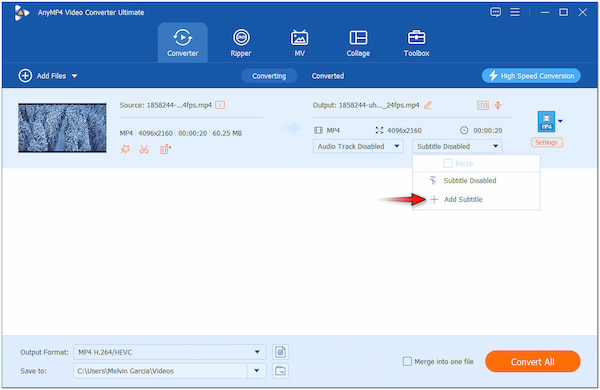
3. Next, proceed to the field labeled Subtitle Disabled and click it. Select the + Add Subtitle option from the dropdown menu to add your subtitle file.
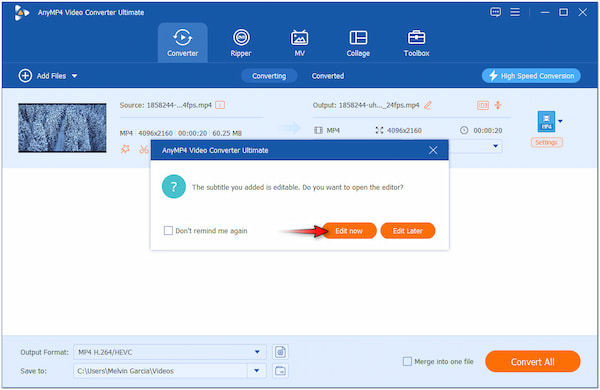
4. Following this step, select Edit Now in the popup window to proceed with subtitle customization. By doing so, you will be directed to the Subtitle Editor.
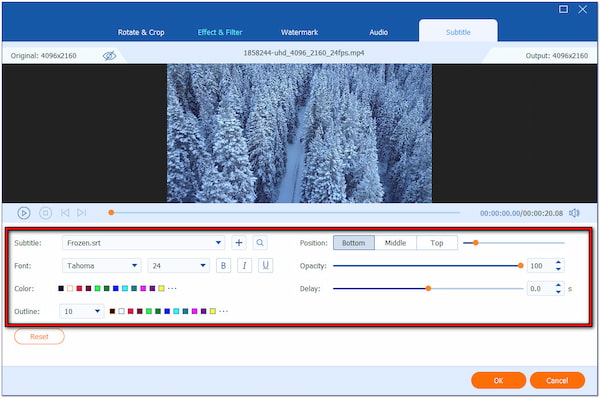
5. At this stage, you can now customize the subtitle according to your preference. Select a font style, change its color, add an outline, adjust the visibility, and replace the position.
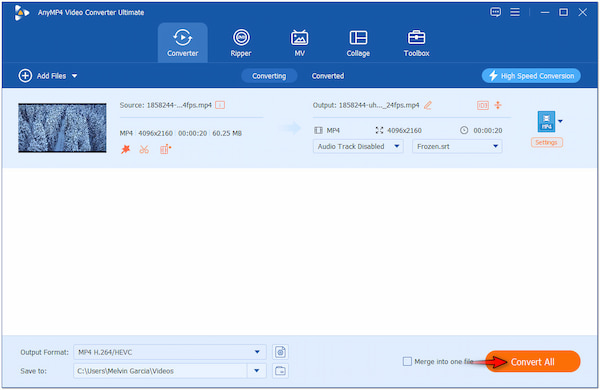
6. After completing the previous step, click OK to apply the changes. Now that the subtitle is added to your video, click Convert All to save the video with the added subtitle.
That’s how to add subtitles to MP4 in Handbrake alternative! Aside from adding subtitles, the software also lets you change it. The process is straightforward; simply click the Magnifying Glass button next to the Subtitle field. Then, you will be directed to an open subtitle website. Search for a subtitle for your video, download it, and follow the steps provided earlier. If you want to remove the subtitle, simply select Subtitle Disabled to remove the subtitle.
Part 6. FAQs about Using HandBrake Subtitles
How do I add foreign subtitles in HandBrake?
It depends on the video’s purpose. Please note that burning in the subtitle will be permanently included in the video. On the other hand, selecting default can be turned on or off.
Should subtitles be burned in or default in HandBrake?
It depends on the video’s purpose. Please note that burning in the subtitle will be permanently included in the video. On the other hand, selecting default can be turned on or off.
How long does it take to burn in subtitles?
The time it takes when burning in subtitles depends on the video’s length and resolution. Usually, it takes around 1 hour to several hours for full-length movies in high resolution.
Conclusion
In conclusion, HandBrake can be your companion for managing your subtitles. This post has discussed various approaches to using the HandBrake Subtitle tool. By following our instructional guide, you can successfully add, remove, and rip subtitles from your video. Meanwhile, if you find HandBrake too technical for this purpose, you can consider using alternatives. AnyMP4 Video Converter Ultimate provides a straightforward solution to add, change, and even remove subtitles from your videos.