It will be quite annoying if the iPhone camera app can not working properly. While there are still many iOS users complain about the iPhone camera not working issue on the internet. Are you facing the same situation?

In some cases, iPhone camera app seems to be frozen, can't switch from back to front camera, flashlight doesn't sync with shots, or iPhone camera shows nothing but a black screen. Actually, there are many reasons will cause the camera app not working properly on iPhone 6/6s/7/8/X/XS Max/11/12. Here in this post, we like to show you 5 simple ways to help you fix the issue.
When open the Camera app on your iPhone and only get a black screen, you can try switching from the back camera to front camera to check if both cameras are black. If the problem is still there, you can choose to force quite the Camera app.
You can Home button twice or swipe from bottom to show the recently used apps running in the background. Find the Camera app and swipe up to close it. After that, you can open the Camera app again to see if it is back to normal condition.
Some iOS users said that the iPhone camera not working issue could be easily fixed after turning off the Voice-Over feature. You can follow the steps below to disable this feature.
Unlock your iPhone and go to "Settings" app. Tap "General" and then locate the "Accessibility" and tap on it. Turn off the "Voice-Over" feature and then open the Camera app again to check if it can work normally.
After trying the first 2 methods above, you can choose to restart your iPhone to solve the camera or flashlight not working issue. You can also reset all settings of your iPhone to fix the camera app.
Step 1. Turn on iPhone and open the "Settings" app.
Step 2. Tap "General" > "Reset" > "Reset All Settings" to reset all your iPhone settings. You need to enter the Apple passcode to confirm the operation.

Many iPhone users report that the iPhone camera black screen issue is caused by the outdated and unstable version of iOS. Considering that, you can update iOS to bring this app back to normal.
Step 1. Unlock iPhone and open "Settings" app.
Step 2. Tap "General" > "Software Update" > "Install Now" to update iOS to the latest version.

If all methods above fail to fix the iPhone camera not working issue, it's time to turn to the professional solution. Here we introduce a powerful iPhone issues fixing software, iOS System Recovery to help you solve various iOS related problems including the iPhone front/back camera, black screen or flashlight not working.
Secure Download
Secure Download
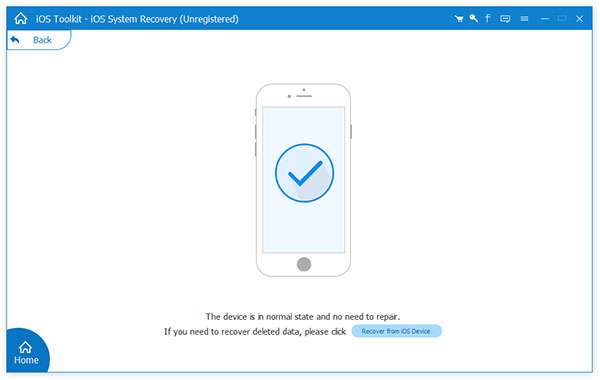
Step 1. Free download, install and run iOS System Recovery on your computer. When you enter the main interface, choose the "iOS System Recovery" option. Connect your iPhone to it with a USB cable.

Step 2. You can use "Standard Mode" or "Advanced Mode" to fix the Camera app not working properly on your iPhone.

There will be detailed steps to guide you put your iPhone into Recovery mode or DFU mode for the fixing. Learn how to fix iPhone stuck in Recovery mode here.

Step 3. Confirm your iPhone model and other information is correct and then click the "Repair" button to download a repaired plug-in to solve the iPhone Camera not working problem.

iOS System Recovery will automatically fix the iPhone camera app not working issue as soon as the repaired plug-in is downloaded. After that, your iPhone will reboot itself and then back to the normal condition.
We mainly talked about the iPhone Camera not working in this post. We showed 5 simple ways to help you fix the iPhone camera app and bring it back to normal condition. You can leave us a message or directly contact us if nothing of the previous methods worked for you.