When you are too busy to attend a course learning, an online training video can solve the problem.
For creating the compelling eLearning videos, one or more program will be needed exactly.
iSpring Cam Pro is one of the popular training video creators in the market.
Is iSpring Cam Pro safe?
Where to download the screen recorder?
How to create a video tutorial with this software?
All the questions will find the answers in the following description.
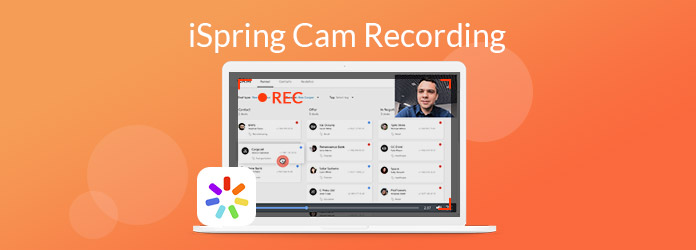
iSpring screen recorder, iSpring Cam Pro is the screen and video recording software to capture the selected screen and application to create the video tutorial.
Apart from the video recording, it also records audio from your microphone and system sounds to give the narration of the video tutorial. After the recording, you can edit the video recording like crop, add annotation, clip, video effects, etc., to make your video tutorial more professional.
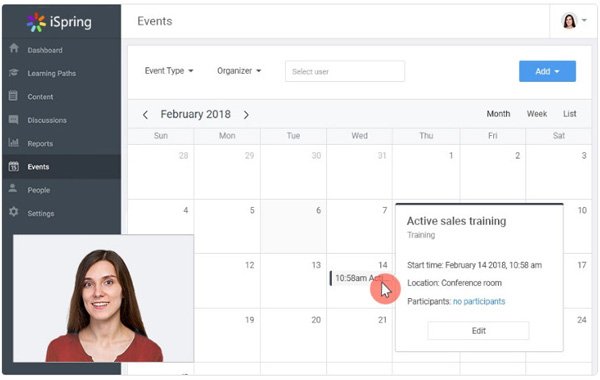
Review of iSpring Screen Recorder
What users like:
What users do not like:
Just ignore the demerits, and you could still use it to record and record your video tutorial.
That turns us to the next part.
For using this software, you need to visit its official page, sign up to leave your email address and phone number, and it will send the free 14-days' trial version to you, you just need to click the download link to download iSpring Cam Pro to your Windows 10/8/7 computer.
Follow the on-screen instructions to install and run this screen recorder software on your computer.
Step 1. Click the option of "New Recording" to start creating a new recording file.
Step 2. Then you are directed into the Recording Settings" window, where you need to confirm the recording source (Screen, Camera, and Screen and Camera), area, (Fullscreen, application and selected area) and sound recording (Microphone optional).
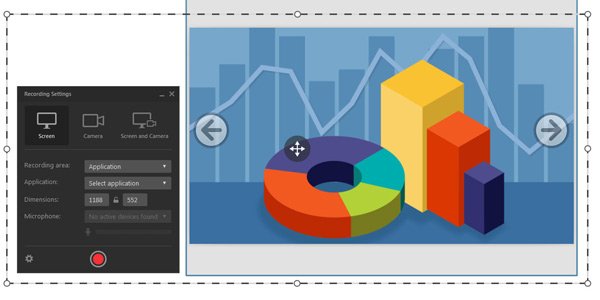
Step 3. Record the video with iSpring Cam Pro
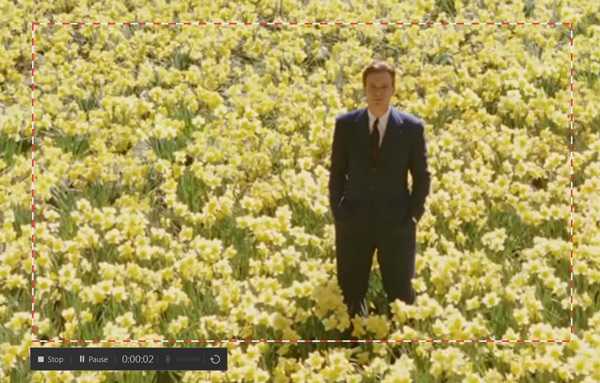
After all the settings are done, just click the "Record" button to start recording your screen. During the recording, you can pause and continue recording.
Step 4. After the recording is complete, click the stop button and a window will pop up to add the annotation now or further.
Click "Continue" and you will enter the editing steps, where you can insert videos and pictures in the editing timeline, add text/annotation, clip, crop, remove audio noise, adjust video effects, etc.
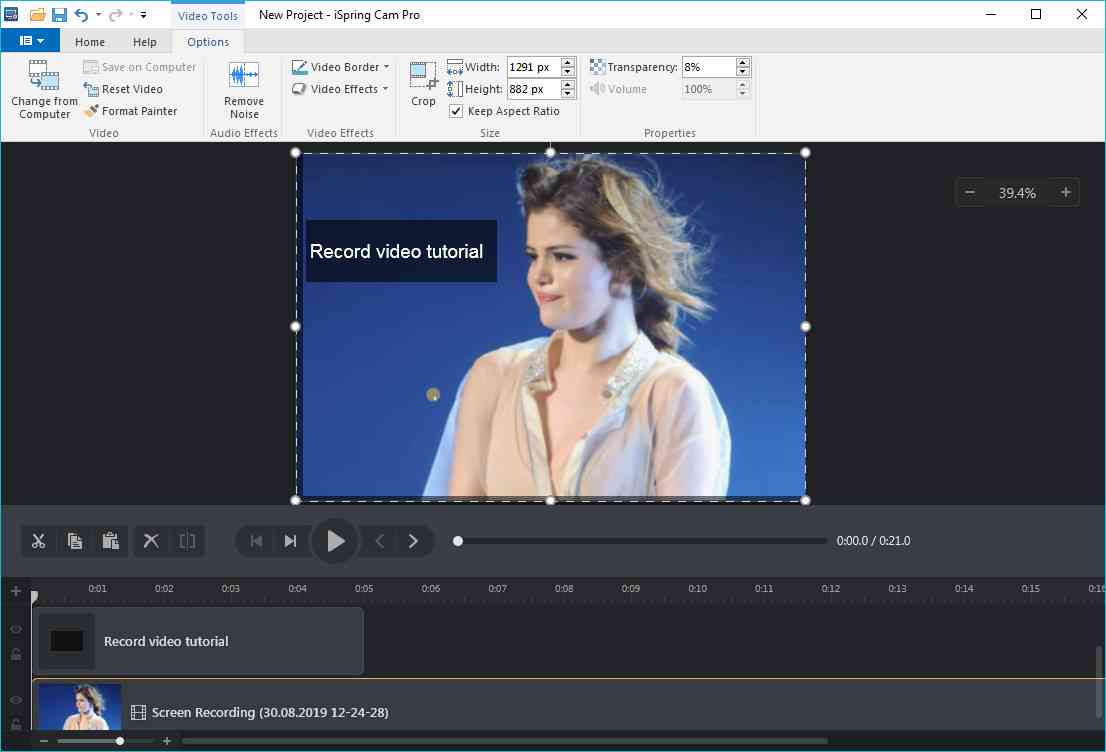
Step 5: Save iSpring recording file
After the editing features are applied, click "Save as" to save it as a project. Or "Publish" it as a local MP4 video file in H.264 or upload it to YouTube directly.
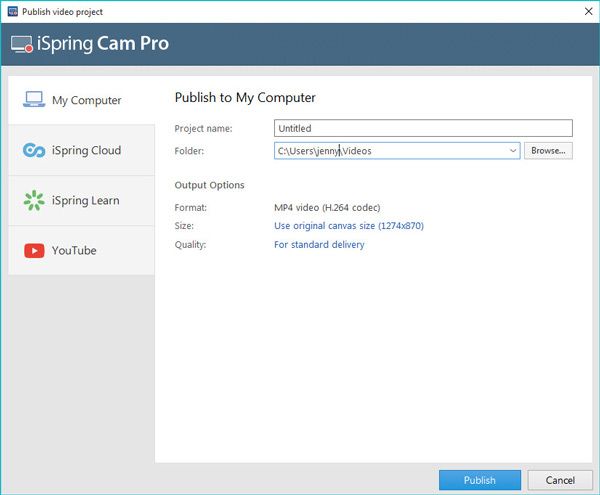
The whole process is smooth and easy to follow.
However, for Mac users, iSpring Cam Pro does not work.
For recording screen on Mac with similar features, you need to move the next part.
ISpring Cam Pro only has Windows supports. For using it on Mac, you need the iSpring Cam Pro alternative, AnyMP4 Screen Recorder. It allows you to record screen and video on Windows 10/8/7 and Mac. If you want to record a video tutorial with yourself, its webcam recorder can make it exactly.
Secure Download
Secure Download
Step 1. Run Video Recorder on Mac
After downloading this video recording software on your Mac, install and run it via double-click the icon.
In the main interface, you need to select "Video Recorder".

Step 2. Recording settings
Here you need to make the recording settings.
Select the recording screen
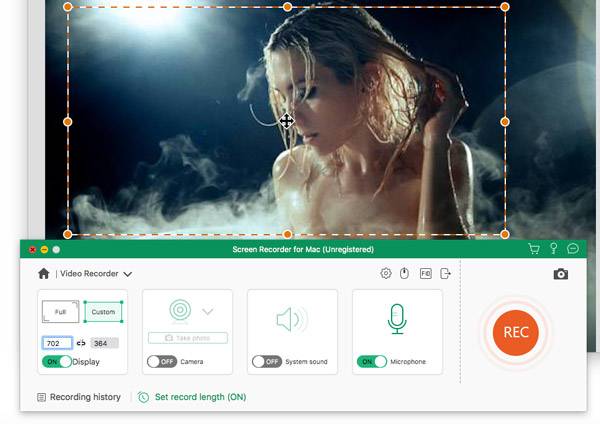
You can capture the full screen on your Mac or customize the fixed or free region.
Alternatively, you can select the recording window or app via clicking the dropdown list of "Custom".
For recording the picture-in-picture file, you are recommended to select the recording area.
Select audio recording
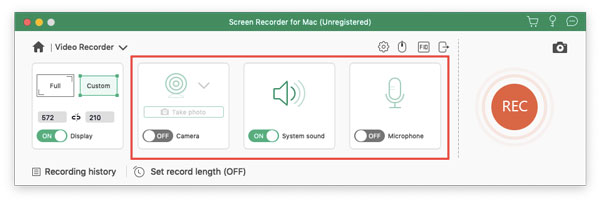
For adding your voiceovers, you need to turn on "Microphone".
"System Sound" is optional to turn on to grasp the system audio from your Mac.
More recording settings
Click the "Settings" button and you are going to set "Recording", "Mouse", "Hotkeys", "Output", and "Others".
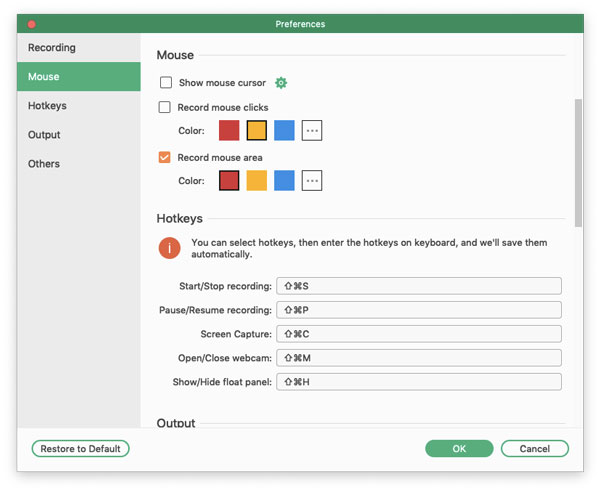
Recording: Enable recording countdown, hide/show float bar, recording boundary, desktop icons, cursor color, etc.
Mouse: Show/hide mouse cursor while recording and customize the mouse-click colors.
Hotkeys: Make your hotkeys to stop, pause, and resume recording, snapshot, etc.
Output: Set the saving destination of the recording file, screenshots, select video and audio format (MP4, MOV, M4V, GIF, etc.), quality, etc.
Others: Enable hardware acceleration, software updates, etc.
Step 3. Record and save video recording on Mac
After all the settings are complete, you can start your video recording by clicking the "REC".
You can and continue recording, and click the Stop button to save the recording files on Mac locally.
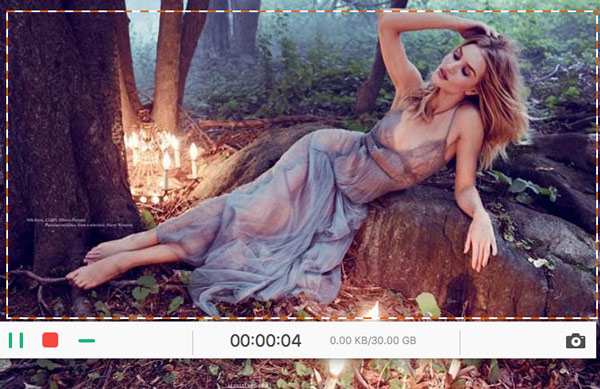
This software is very easy to record, and you need the video editor if you want to create the video tutorial for sharing.
Conclusion
This page mainly talks about iSpring Cam Pro, the training video tutorial recorder. You can use it to make your video on a Windows computer. As for Mac users, you will need the easy Mac recorder, AnyMP4 Screen Recorder to record your screen on Mac.
Now, will you use iSpring Cam Pro to make your video tutorial?
Let me know by leaving your comments below.