Screenshot shortcuts enhance people's productivity and facilitate collaboration by providing quick, flexible, and efficient ways to capture screens. Are you still unclear about them? This article will list Windows screenshot shortcuts for you to refer to.
Quick Guide:
Typically identified as 'PrtScn' or other variants, the Print Screen key is a key present on the computer keyboards. Its main purpose is to take a picture of your computer screen, or more specifically, a snapshot of what you see.
Follow us to see screenshot shortcut keys for Windows 11/10.
Here are the steps to capture the entire screen.
1. Press the Print Screen key on your keyboard, which is located in the top-right corner of your keyboard, typically above the number pad.
Note: The default screenshot save format is PNG.

2. The screenshot is automatically saved to the clipboard and you can click the prompt window to open it and further edit it.
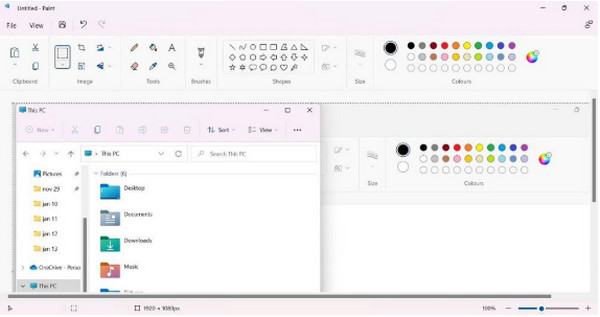
3. (Optional). You can save the edited pictures in your preferred folder if you need to.
Next, let's see the Windows screenshot keyboard shortcut for the specific screen area.
1. Simultaneously press the Windows + Shift + S keys.
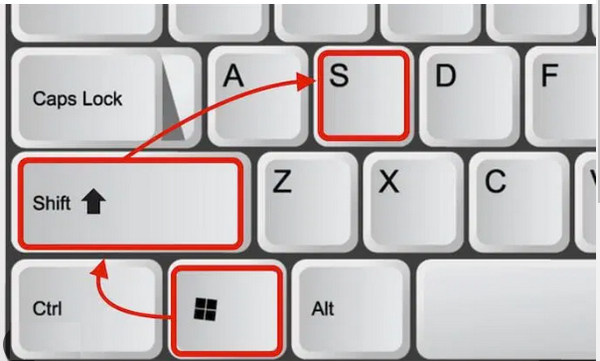
2. When the Snip & Sketch screenshot tool is active, your screen will dim.
A menu will appear at the top; click one from the rectangle, free form, and full-screen snip buttons, and select the area you want for your snapshot.
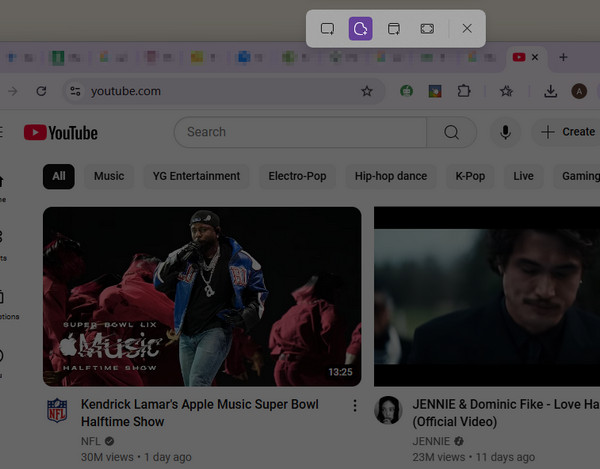
3. To choose the precise region you wish to record, use the mouse cursor. The screenshot will be captured and transferred to your clipboard as soon as you release the mouse.
Note: You can paste the screenshot into a blank Word document or open photo editing software, or you can click Ctrl + V to share it on your message thread. After editing and saving, distribute!
In some situations, you may need to screenshot on one specific window. Let's see screenshot hotkeys on Windows to capture the active window.
1. Select the window you want to capture.
2. Press the Alt and Print Screen keys to get the screenshot.

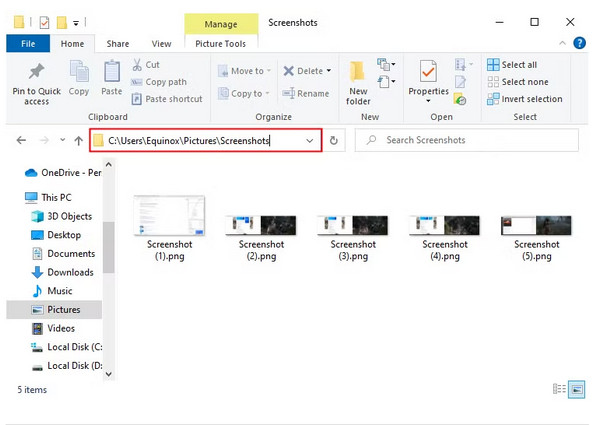
3. Go to the C: \ Users \ Administrator \ Pictures \ Screenshots to find your screenshots and further use them.
Want to capture a tooltip or a pop-up menu? Then, you know how as soon as you click your mouse that pop-up will disappear. Don't worry. You can use the Snip & Sketch tool to capture a delayed screenshot. Then, let's see the detailed steps.
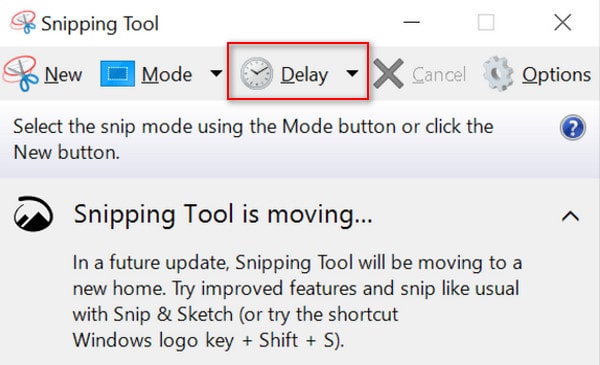
1. Open the Snip & Sketch toolbar. Then, choose a delay time by clicking the toolbar's Delay option of the clock icon.
Note: There are three choices: 3 seconds, 5 seconds, and 10 seconds.
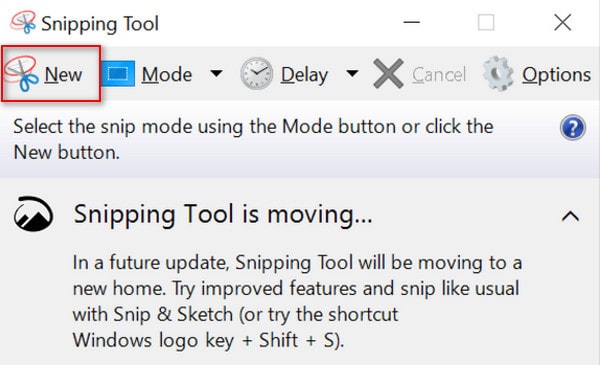
2. Prepare to take a screenshot. Then, click the New option to start the countdown and take a screenshot.
3. The screen will freeze after the wait, allowing you to choose the region you want to record.
Here, we want to introduce you to the most powerful screenshot tool: AnyMP4 Screen Recorder. It allows you to capture the entire screen, part of the screen, and one specific window. Besides, it can capture scrolling screenshots, which cannot be captured with the Windows shortcut. You can adjust many settings, like hotkeys, mouse and keystroke, and output settings. The screenshot's default save format is PNG, and you can choose the download folder by yourself. In addition, it provides many tools for you to edit the captured pictures, like text, blur, etc.
1. Click the below button to download and install AnyMP4 Screen Recorder on your Windows or Mac computer.
Secure Download
Secure Download
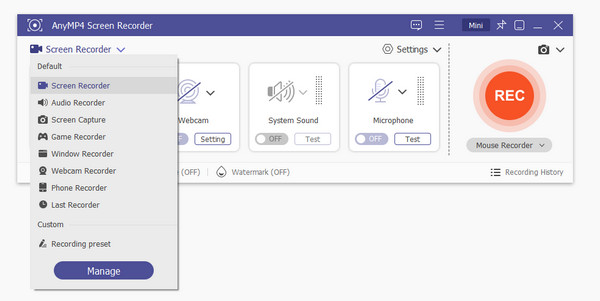
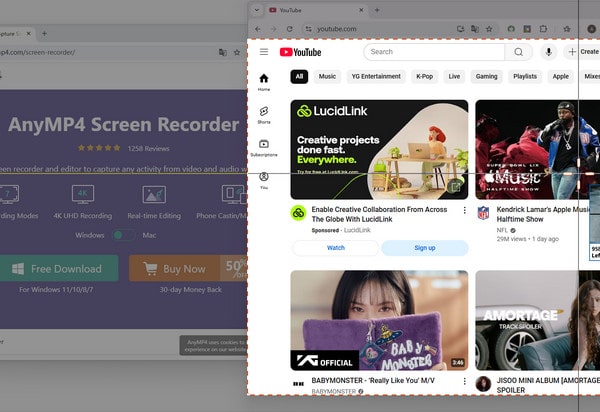
Open this recorder, click the Screen Recorder at the top left, and choose the Screen Capture mode in its drop-down option.
Note: Before starting to capture the screen, you can click the menu to edit many settings, like hotkeys, mouse, output, etc.
2. Drag the mouse to take a screenshot of the area you want to reserve.
If you want to screenshot one specific window, you can move your cursor on it. It will automatically select the window area.
Besides manually selecting the whole screen, you can also select any area and then select the Full screen option.
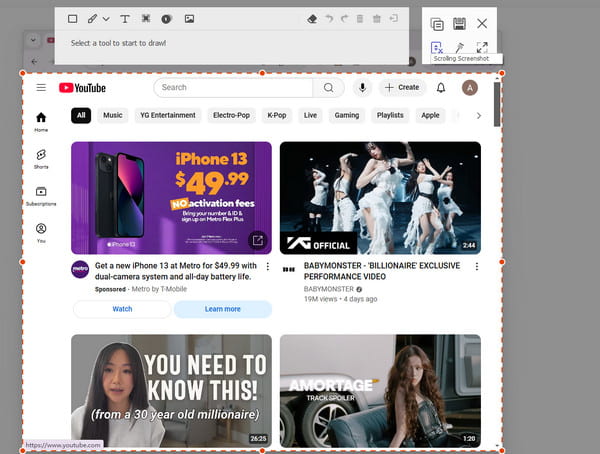
3. After you select the area you want to save, it will provide some settings, including Copy, Save, Close, Scrolling Screenshot, Pin to screen, and Full screen, which can meet your diverse needs. Then, click Save to preserve the screenshots.
Note: You can click the Scrolling Screenshot to take the scrolling screenshot in Windows.
It also provides real-time editing tools, such as Rectangle, Brush, Text, Blur, etc., and you can use them to make personalized editing.
It is a useful tool, right? Download this powerful and follow the above steps to have a try!
Today, we simply introduce the Windows screenshot shortcuts to you. To facilitate your use, we specifically give you a quick guide at the beginning. These shortcuts are so convenient that they can efficiently improve our work proficiency. If you want to capture scrolling screenshots and make some editing after taking screenshots, download AnyMP4 Screen Recorder and try it.
We will be delighted if this article helps you.
 Posted by Riley Mitchell to Screenshot
More readings
 How to Screenshot on Dell Laptop/Desktop in 2025
How do you take a screenshot on a Dell laptop without PrtScn button? How to capture a screenshot with Windows 10? Here are 3 easy ways to screenshot on Dell.
 How to Take a Screenshot on Samsung: 4 Unique Methods
This post will cover several ways to capture the Samsung screen! From buttons to gestures and voice commands, learn how to take a screenshot on Samsung easily.
 How to Take a Screenshot on a Motorola [4 Smooth Techniques]
If you want to learn how to take a screenshot on a Motorola, you’ve chosen the perfect location. Discover the several approaches in this instructional post.
 How to Take a Screenshot on Firefox | Make Your Task Easy
If you’re someone who wants to know how to take a screenshot on Firefox, you’ve found the perfect spot. Learn the simple process with our informative article.