Connecting the DVD player to the TV is one of the best methods for enjoying DVD movies. There are many connection guides on the internet. However, they mostly recommend using an HDMI cable. However, some old DVD players don't support HDMI. Don't worry. This article aims to show you how to connect the DVD player to the TV without HDMI in two easy ways to watch DVDs on TV.

Before connecting the DVD player to the TV without HDMI, follow us to learn the preparations you should make.
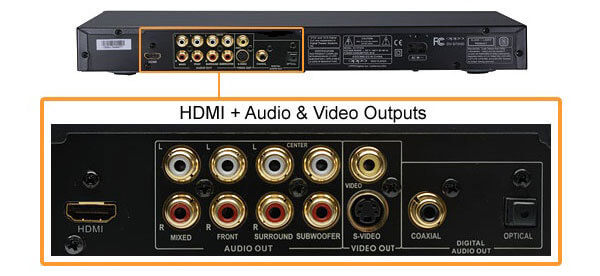
• Attach the DVD player to the closest power source. Press the Power button to turn it on until a light appears.
• Decide the proper connection method. There are different input ports that support different connections. And you can choose according to your TV.
HDMI: It is the newest connection that incorporates a longer and thinner USB cord. HDMI transmits both audio and video with a single cord, unlike conventional interfaces. Additionally, it offers a higher quality.
A/V cable: For DVD players, it is the most popular connection. A/V cables typically have three cables and are colored differently to match the cables and interfaces.
Component Cables: It contains five distinct colored prongs. Additionally, the color is employed to match the TV and DVD player interfaces as well as the wire. Compared to HDMI, component cables have lower transmission quality.
• It would be better to use the original cable that came with your DVD player.
• Make sure the TV and DVD player are close enough before connecting them. However, don't stack them together. Otherwise, they will heat up and harm one another.
Now, after the essential preparation, let's see how to use two methods to connect a DVD player to the TV without HDMI.
1. Get the the two ends of the A/V connector respectively attached to the gadgets of DVD player and TV.
Note: Before connecting the TV and DVD player, turn them off, which safeguards the equipment and reduces the possibility of electric shocks.
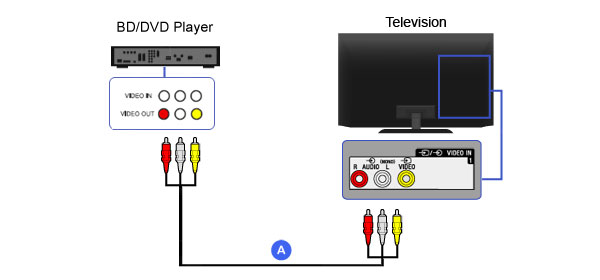
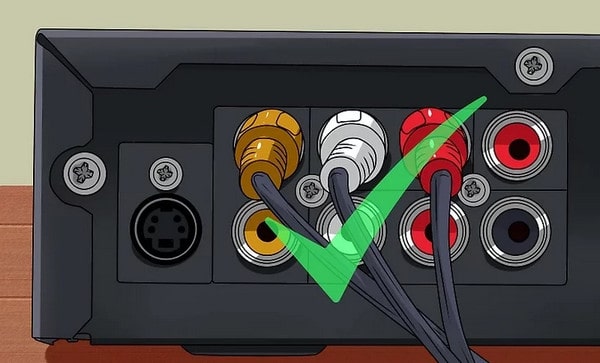
2. The white and red colors' cables are for the audio, and the yellow color is for the video. Please note that you need to plug different color cables into the proper terminals. Connect DVD player and TV to the power.
Tip: Typically, the input sockets are grouped together and are identified by a line or border that divides the group from the other inputs.
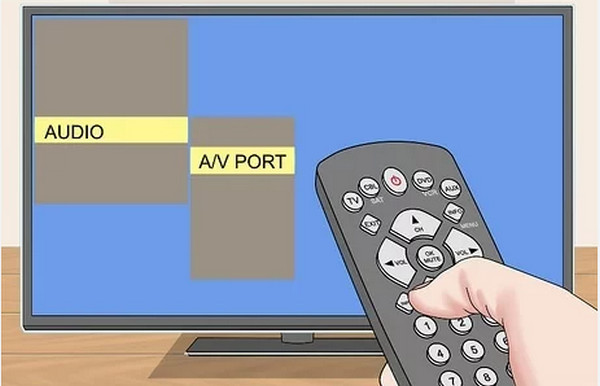
3. You can insert one DVD disc into the DVD player. Then, on the home screen of the TV, choose the A/V tile to watch DVDs on TV.
1. Component cables have five cords, and you need to plug them into the corresponding sockets of the DVD player.
Note: It can be confusing when you see that a component cable has two red plugs. Lay the wire out flat so that all of the prongs line up to determine which is whose. The colors should be in the following order: Green, Blue, Red (video), White, and Red (audio).
If your component cable only includes green, blue, and red video connectors, you will need a separate read and white plug audio cable. Otherwise, the audio will not be audible.
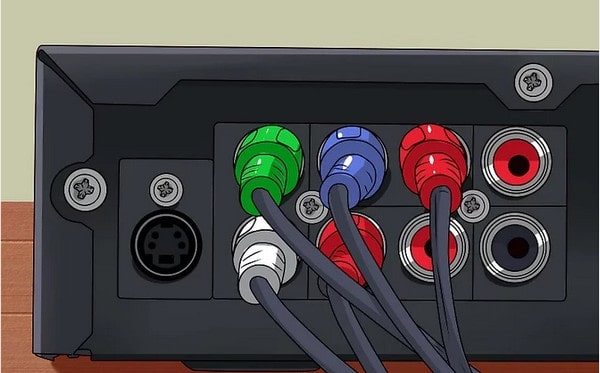
2. Connect the five cords on the other end of your component cable to the appropriate TV sockets.
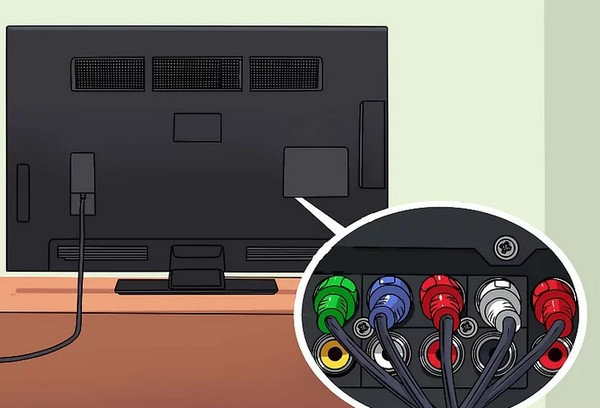
3. Plug in the power cords to turn on your TV and DVD player. Then, insert one DVD into the DVD player.
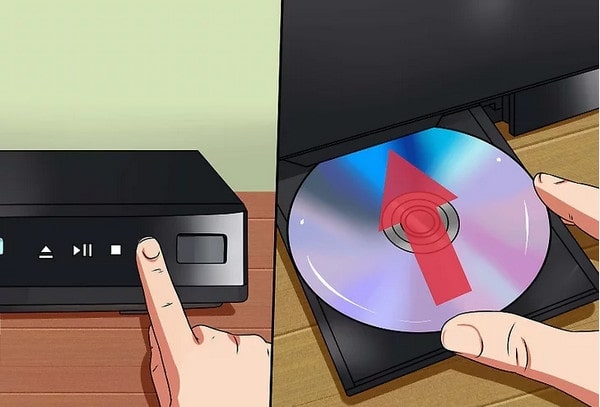
4. Choose the component cable input option on your TV to play DVDs on your TV.
Tip: If you are just receiving audio or video, or you are not receiving any signal at all, it is possible that your cable is not plugged in properly. Check the cables once again.
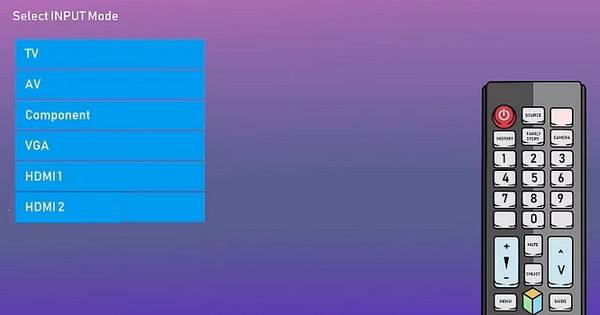
The steps are all intuitive and easy. With these two methods, you can easily watch and enjoy DVDs on your TV.
If you don't have a DVD player, don't worry. There are also other methods that enable you to watch DVDs on TV besides using the cable to connect a DVD player to the TV. Follow us to see how to rip DVDs to common video, save them to the USB drive, and play DVDs on TV with the USB drive.
AnyMP4 DVD Ripper enables you to convert DVDs to multiple video formats and save the converted videos to the USB drive. And you can play DVDs on TV with the USB drive. It provides 500+ output formats and includes the formats that are supported by the TV, such as MKV, MP4, AVI, and others.
With the equipped editing tools, you are allowed to trim videos, add filters, and adjust subtitles. Moreover, it adopts GPU acceleration technology that can efficiently rip DVDs to other video formats. When we tested, it only took 20 minutes to convert one DVD movie. Next, download the AnyMP4 DVD Ripper on your computer and follow us to see the ripping steps.
Secure Download
Secure Download
1. Open AnyMP4 DVD Ripper and you can see its main interface. Click the Load DVD button to input one DVD file. You can choose the titles you want to maintain by clicking Full Title List.

2. Click Output Format > Video, and you can see multiple video formats and profiles. Choose one of the TV's supported formats, MKV format, and HD 1080P because MKV format can maintain DVD's good quality. You can also choose other formats that can be played on your TV to fit your needs.
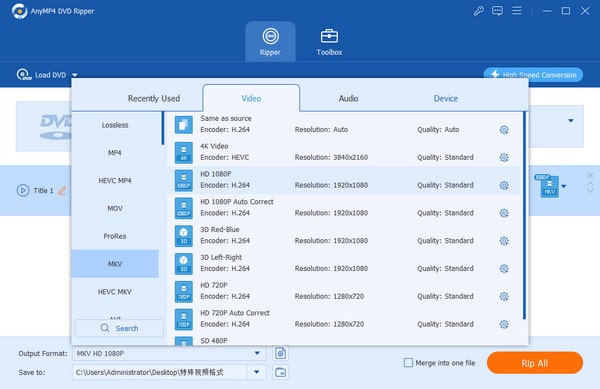
3. Plug the USB drive into your computer. Click the Save to option to choose the USB drive as the destination folder of the converted DVDs. Lastly, click Rip All to convert the DVD to MKV.

Then, we will introduce you to how to play DVDs on TV with a USB drive.
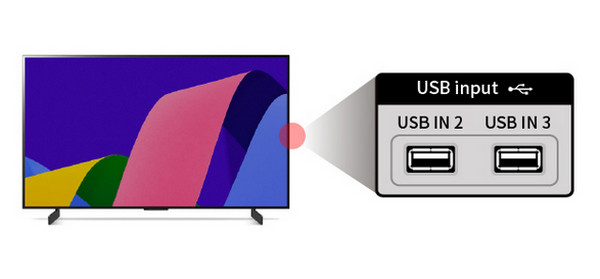
4. After saving DVDs to the USB drive, connect it to the USB input port on the back of the TV.
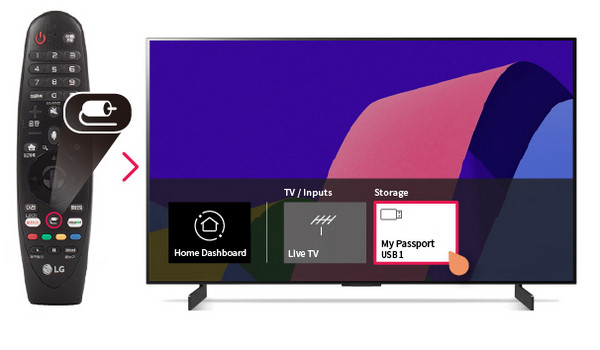
5. Click the USB drive option on the TV screen, and select one DVD to play on your TV.
You can watch DVDs on TV using the above steps. When we tested this powerful tool, we tried many functions, like editing media metadata, etc., which are very thoughtful. You can use these various functions to meet your needs.
Today, we show you how to connect the DVD player to the TV without HDMI in two ways. A/V cable and the component cable are both convenient ways to connect the DVD player to the TV. If you want to watch DVDs on your TV, follow the steps to try them!
If you have other problems, you can comment on us!
Secure Download
Secure Download